Account Provisioning
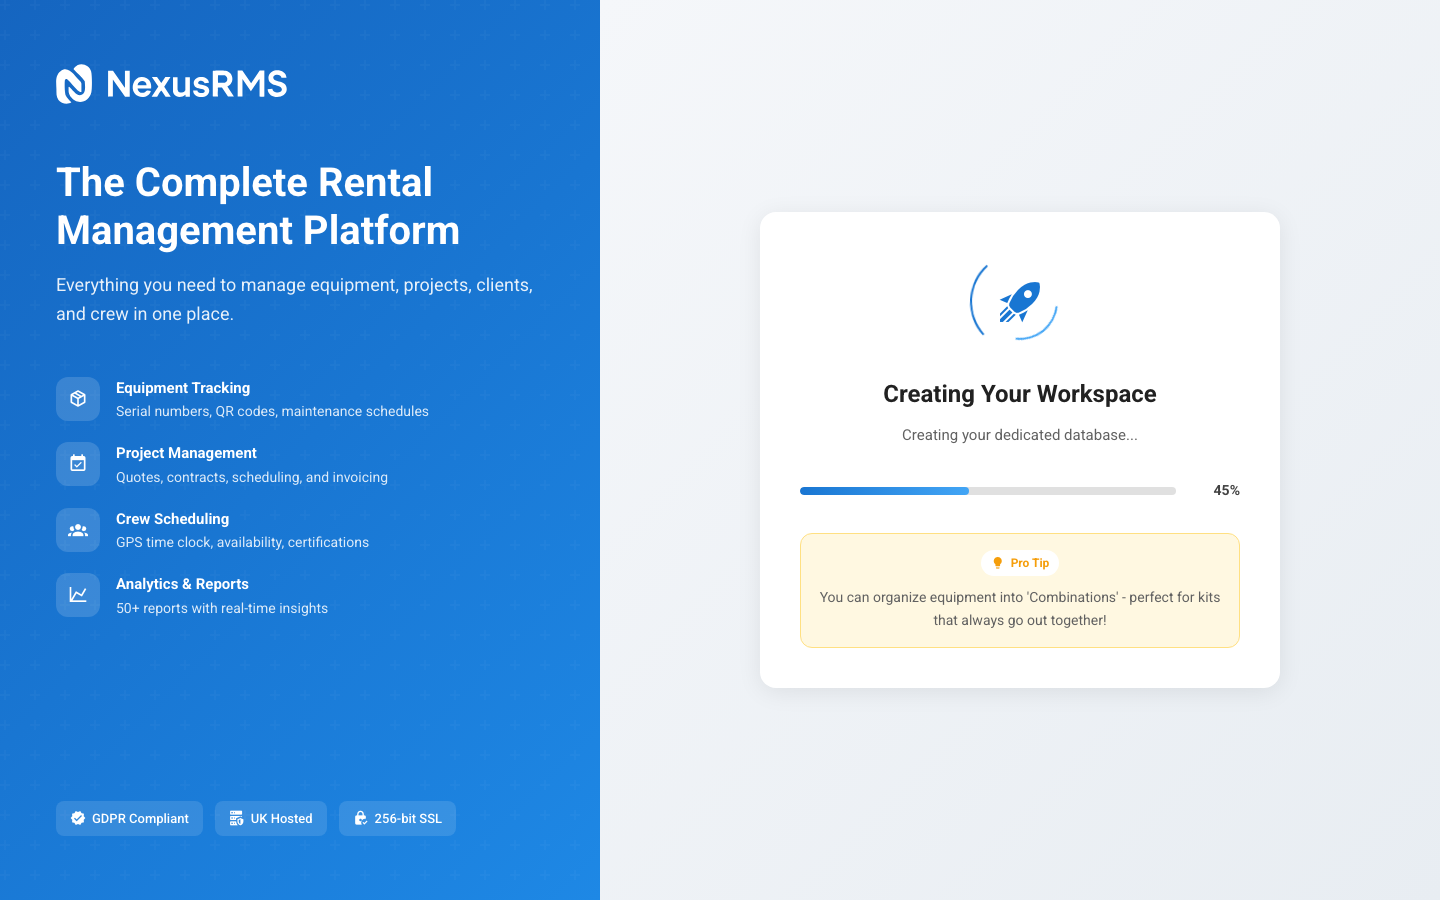
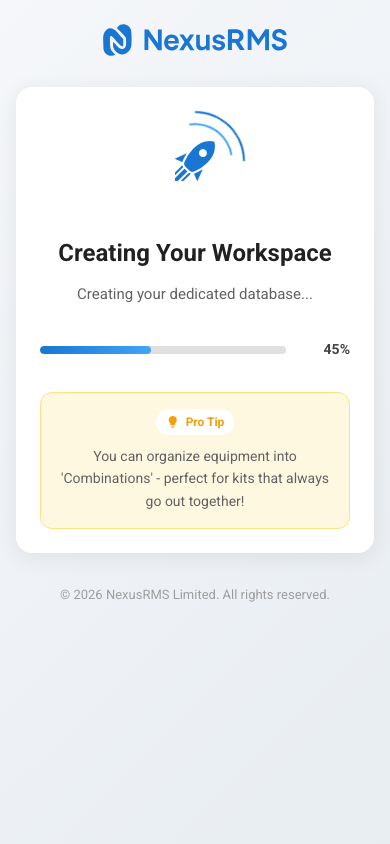
After you verify your email, NexusRMS automatically provisions your workspace. This article explains what happens behind the scenes and what is set up for you.
What is provisioning?
Provisioning is the automated process of creating your dedicated workspace. NexusRMS uses a database-per-tenant architecture, meaning every company gets its own isolated PostgreSQL database. No other company can access your data, and your data is never mixed with anyone else's.
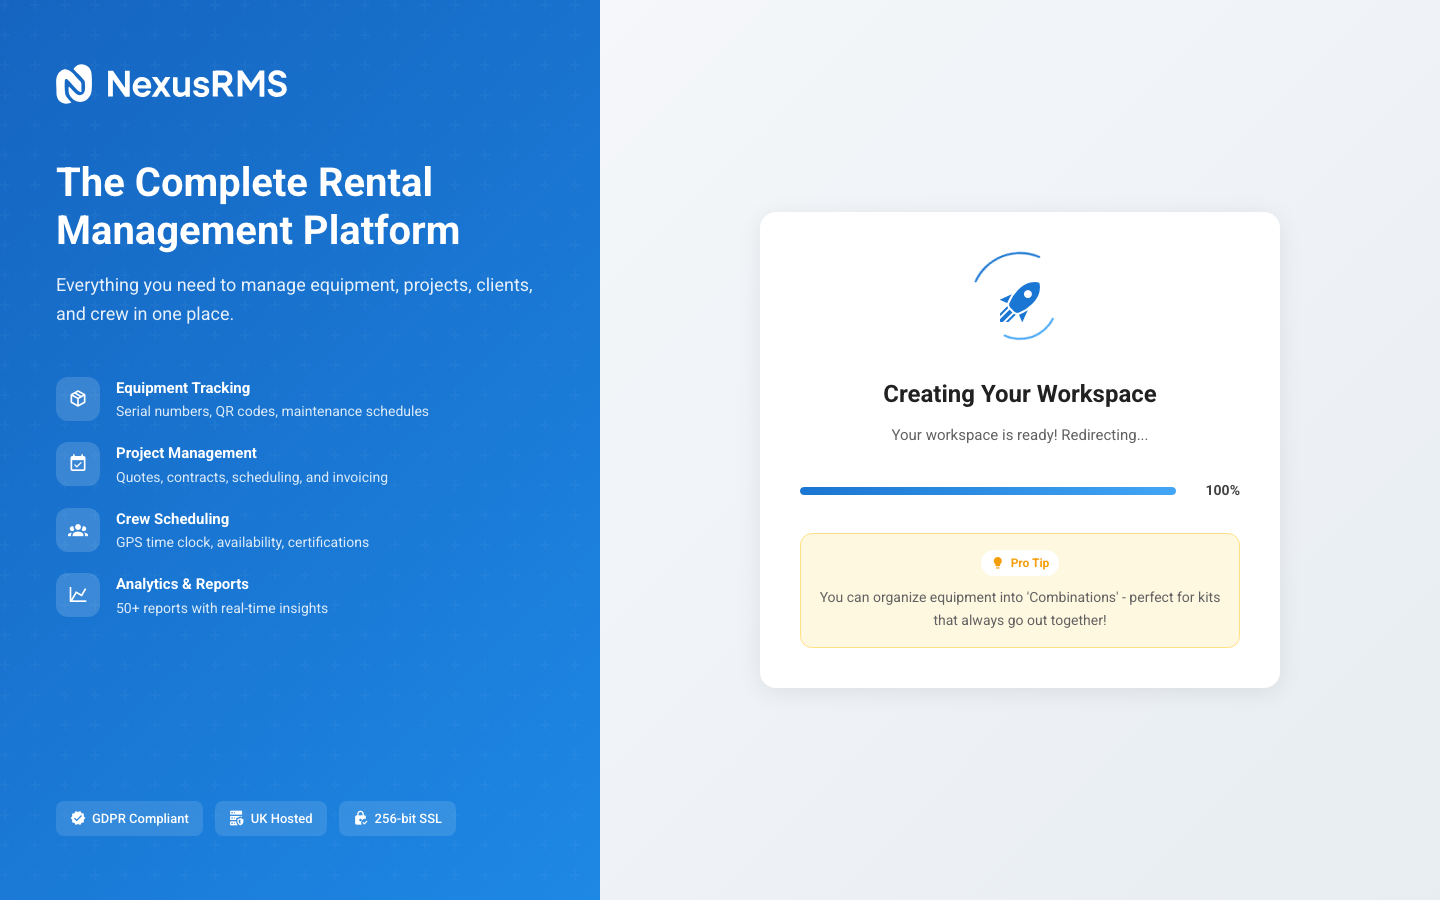
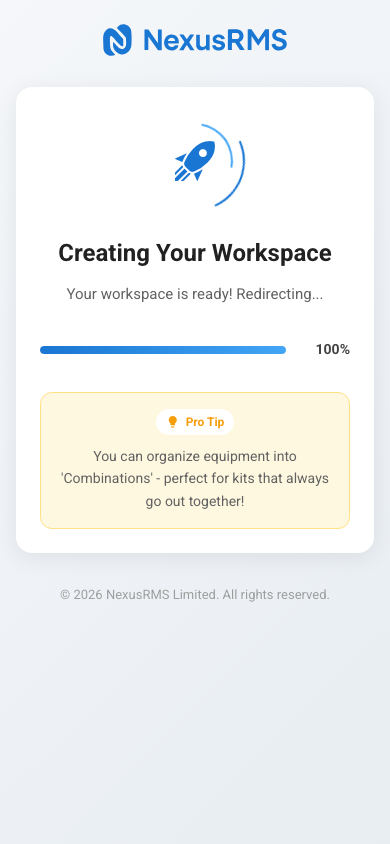
The entire provisioning process typically completes within 30 seconds.
What gets created (Company Accounts)
For company accounts, provisioning sets up the following:
1. Dedicated database
A new PostgreSQL database is created exclusively for your company, containing approximately 140 tables covering all system modules. This database is completely isolated from other tenants.
2. Your user account
Your CoreAdmin user is created in the tenant database with full permissions. As the initial CoreAdmin, you have access to:
- All financial data (quotes, invoices, credit notes, payment records)
- All settings and configuration options
- User management (invite, assign roles, deactivate)
- Addon management (subscribe, cancel)
- Billing and subscription management
3. Default settings
Your workspace is pre-configured with sensible defaults:
- Currency — Set based on your registration locale (GBP for UK, EUR for Europe, USD for US)
- Tax rate — Standard VAT rate for your region (e.g., 20% for UK)
- Date format — Localised to your region
- Working hours — Default 9:00 AM – 5:30 PM, Monday to Friday
- Fiscal year — Calendar year (January – December)
4. Equipment categories
A starter set of equipment categories is created to help you organise your inventory:
- Audio (speakers, microphones, mixers, amplifiers)
- Lighting (moving heads, LED, conventional, control)
- Video (screens, projectors, cameras, switching)
- Staging (decks, legs, barriers, trussing)
- Power & Distribution (generators, distro boards, cabling)
- Rigging (motors, hoists, slings, hardware)
- Furniture (tables, chairs, draping, decor)
- Consumables (tape, cable ties, batteries, gel)
5. Document templates
Default PDF templates are set up for generating professional documents:
- Quote / Estimate template
- Invoice template
- Packing list template
- Contract template
- Delivery note template
All templates include your company name and can be fully customised with your branding (logo, colours, footer text) in Settings > Document Templates.
6. Dashboard
Your default dashboard is configured with starter widgets:
- Upcoming projects overview
- Equipment availability summary
- Revenue this month
- Recent activity feed
- Quick actions panel
What gets created (Freelancer Accounts)
Freelancer provisioning is lighter, as Nodes share a common database structure:
- Node database entry — Your freelancer profile record in the Node database (~25 tables)
- Public profile URL — Your Node goes live at nodes.nexusrms.io/fl/your-id
- Default availability — All days set as available until you customise your calendar
- Compliance tracker — Empty compliance section ready for you to upload certifications
Trial activation
For company accounts, your 14-day trial begins the moment provisioning completes. During the trial:
- All core features are unlocked
- All paid addons are activated (Multi-Warehouse, PAT Testing, Transport, RAMS, etc.)
- There are no user limits
- Full API access is granted
- No credit card is on file
You will receive email reminders at 7 days, 3 days, and 1 day before your trial expires. At the end of the trial, your account is paused (not deleted) until you choose a plan.
Provisioning issues
Provisioning failures are extremely rare, but if something goes wrong:
- You will see an error message on the provisioning screen
- An automatic retry is triggered
- If the retry fails, our team is notified and will investigate
- You can contact support at support@nexusrms.io for immediate help
Next steps
Once provisioning is complete, continue to the Your First Login article to learn how to access your new workspace and start configuring it for your team.
Was this article helpful?