Repairs & Maintenance Settings
The Repairs and Maintenance Settings page controls how repair tickets are created, tracked through their workflow, and resolved. From auto-assignment to multi-stage workflows and notification rules, every aspect of your repair process is configured here. Navigate to Settings > Repairs to access these options.
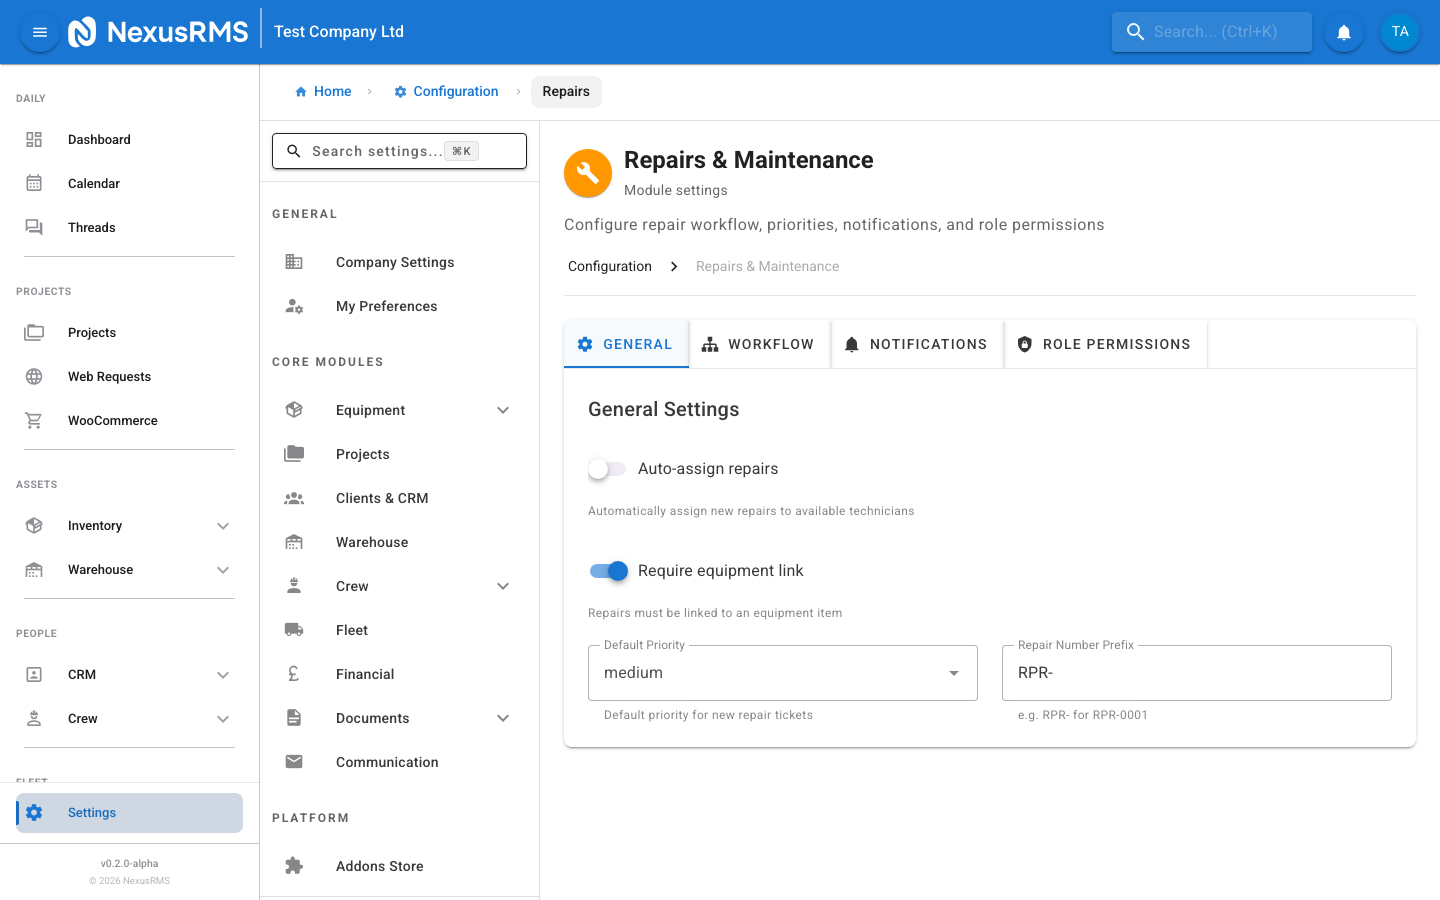
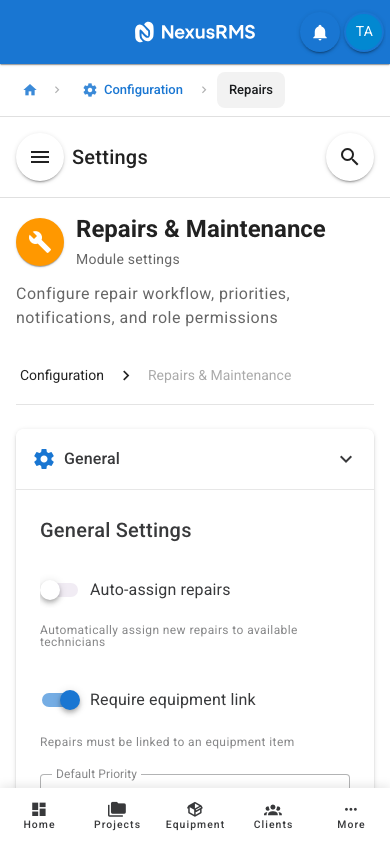
General tab
The General tab configures the core behaviour of the repairs module, including auto-assignment, equipment linking, and default values for new repair tickets.
Assignment
- Auto-Assign Repairs — When enabled, new repair tickets are automatically assigned to an available technician based on their workload, skills, and availability. When disabled, repairs remain unassigned until a manager manually assigns them. Default: Disabled.
- Assignment Algorithm — When auto-assign is enabled, choose the assignment method: Round Robin (distributes evenly across technicians), Least Loaded (assigns to the technician with the fewest active repairs), or Skill Match (assigns to the technician whose skills best match the equipment type). Default: Least Loaded.
- Technician Self-Assignment — When enabled, technicians can assign unassigned repairs to themselves without needing manager approval. This speeds up the workflow in small teams. Default: Enabled.
- Allow Reassignment — When enabled, assigned repairs can be reassigned to a different technician. When disabled, only CoreAdmins and CoreManagers can reassign. Default: Enabled.
Equipment Linking
- Require Equipment Link — When enabled, every repair ticket must be linked to a specific equipment item in your inventory. This creates a full repair history on the equipment record. When disabled, repairs can be created as standalone tickets (useful for general maintenance tasks). Default: Enabled.
- Auto-Set Equipment Status — When a repair is created for an equipment item, automatically change the item's status to In Repair. The status reverts to Available when the repair is completed. Default: Enabled.
- Block Equipment Booking During Repair — When enabled, equipment that is currently in repair cannot be assigned to projects. This prevents scheduling items that are not functional. Default: Enabled.
Defaults
- Default Priority Level — The priority level assigned to new repair tickets unless the creator specifies otherwise. Options: Low, Medium, High, Critical. Default: Medium.
- Auto-Create Repair from Damage Report — When enabled, a repair ticket is automatically created whenever damage is reported during warehouse check-in. The repair is linked to the damaged equipment item and includes any photos from the damage report. Default: Disabled.
- Repair Number Prefix — A text prefix added to all repair ticket numbers for easy identification. For example, "RPR" produces ticket numbers like RPR-0001, RPR-0002. Default: RPR.
- Repair Number Start — The starting number for repair tickets. Default: 1.
- Default Due Date Offset — The number of days from creation that the repair is due by default. Can be overridden per ticket. Default: 7 days.
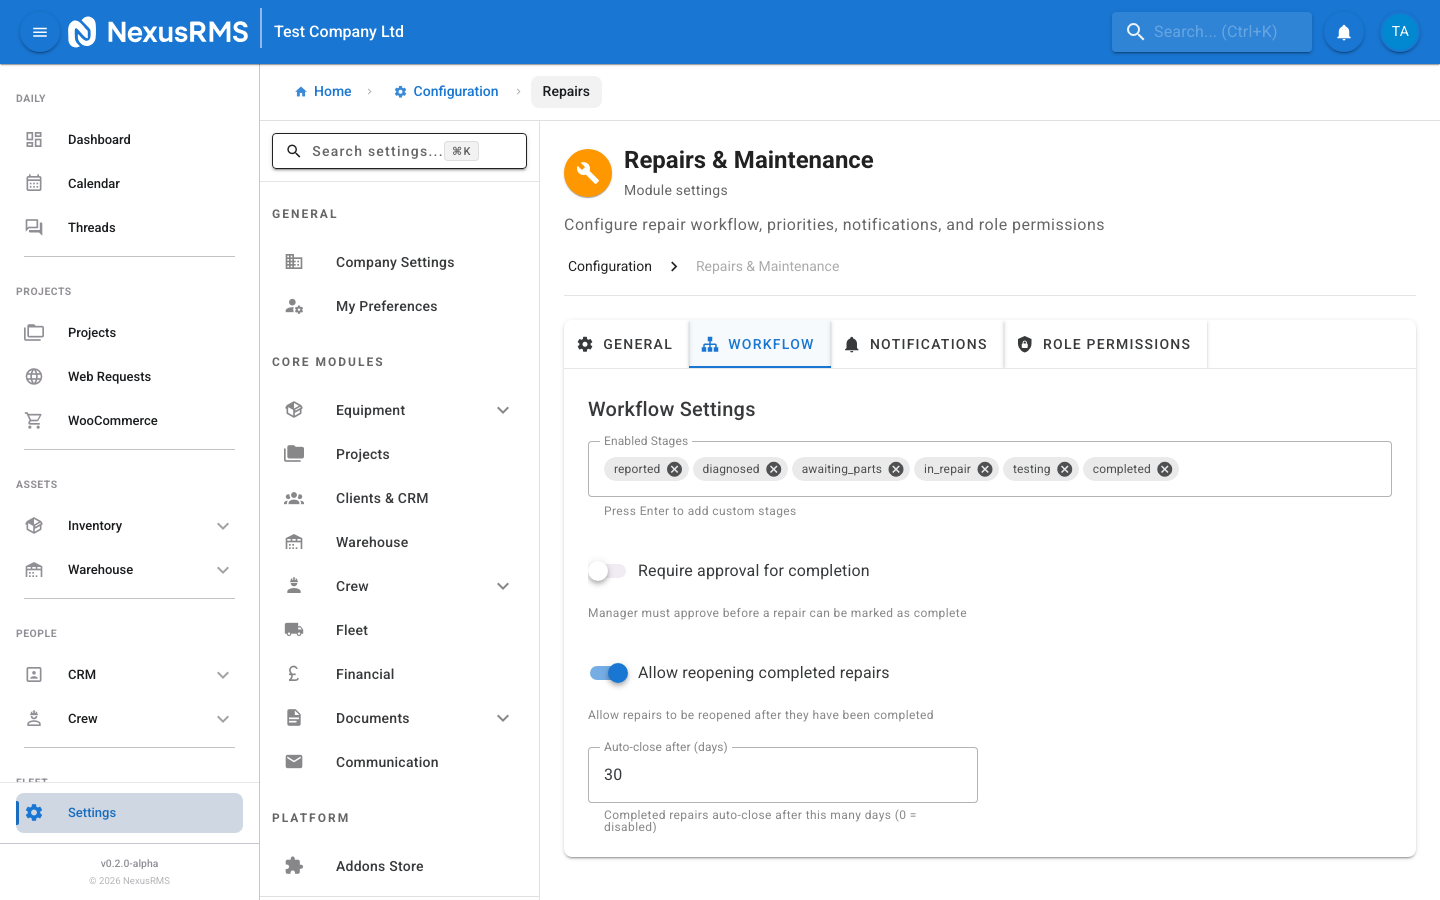
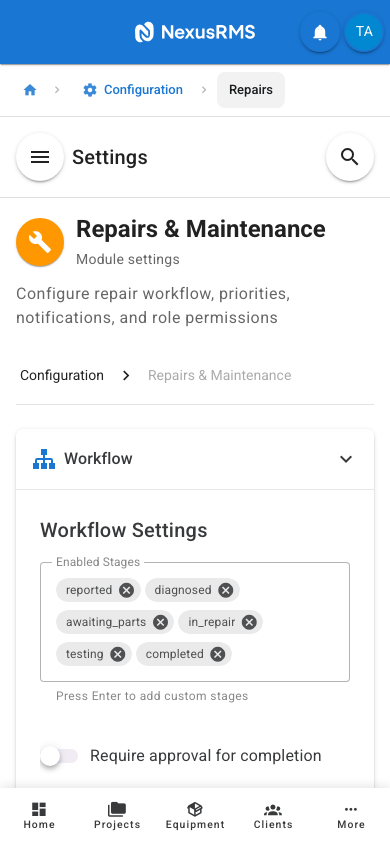
Workflow tab
The Workflow tab configures the multi-stage repair workflow. NexusRMS supports a fully customisable repair pipeline where each stage has its own requirements and sign-offs.
Status Stages
The default repair workflow consists of five stages. You can add, remove, rename, or reorder stages to match your process.
- Reported — The repair has been reported but not yet assessed. This is the initial status for all new repair tickets.
- Assessed — A technician has inspected the item and documented the issue. Parts requirements and estimated repair time are recorded.
- In Progress — Active repair work is underway. Time tracking begins at this stage.
- Testing — The repair is complete and the item is being tested to verify it functions correctly.
- Complete — The repair is finished and the equipment is ready to return to service.
To customise stages, click Edit Workflow. You can:
- Add Custom Stages — Insert additional stages at any point in the workflow. For example, "Awaiting Parts" between Assessed and In Progress.
- Rename Stages — Change the display name of any stage to match your internal terminology.
- Reorder Stages — Drag stages to rearrange the workflow order.
- Remove Stages — Delete stages that are not needed. The "Reported" and "Complete" stages cannot be removed as they are the required start and end states.
- Stage Colour — Assign a colour to each stage for visual identification on the repairs board and calendar.
Required Sign-Offs Per Stage
- Require Sign-Off on Stage Transition — When enabled, moving a repair from one stage to the next requires a sign-off from an authorised user. This prevents stages from being skipped or rushed. Default: Disabled.
- Sign-Off Roles — Specify which roles can sign off on stage transitions. Can be configured per stage. For example, the transition from Testing to Complete may require a CoreManager sign-off, while Reported to Assessed can be signed off by any Technician. Default: CoreManager and CoreAdmin.
- Digital Signature Required — When enabled, the sign-off includes a digital signature capture. Default: Disabled.
Photo Requirements Per Stage
- Require Photos — Configure which stages require photographic documentation. Each stage can be set independently. For example, require photos at "Reported" (to document the issue) and "Complete" (to document the repair). Default: Reported and Complete stages require photos.
- Minimum Photos Per Stage — The minimum number of photos required at stages where photos are mandatory. Default: 1.
- Allow Video — When enabled, video recordings can be attached alongside or instead of photos. Default: Enabled.
Time Tracking Per Stage
- Enable Time Tracking — When enabled, technicians can log time spent at each stage of the repair. This data feeds into repair cost calculations and efficiency reports. Default: Enabled.
- Auto-Start Timer — When enabled, the timer automatically starts when a repair enters the "In Progress" stage. Default: Disabled.
- Track Parts Cost — When enabled, parts and materials used during the repair can be logged with their cost. This contributes to the total repair cost. Default: Enabled.
- Show Time on Repair Report — When enabled, the repair completion report includes a breakdown of time spent per stage. Default: Enabled.
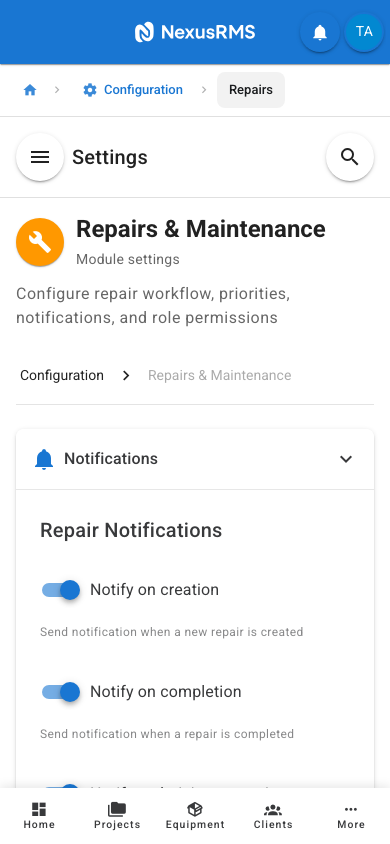
Notifications tab
The Notifications tab controls who is alerted about repair events and when escalation rules activate.
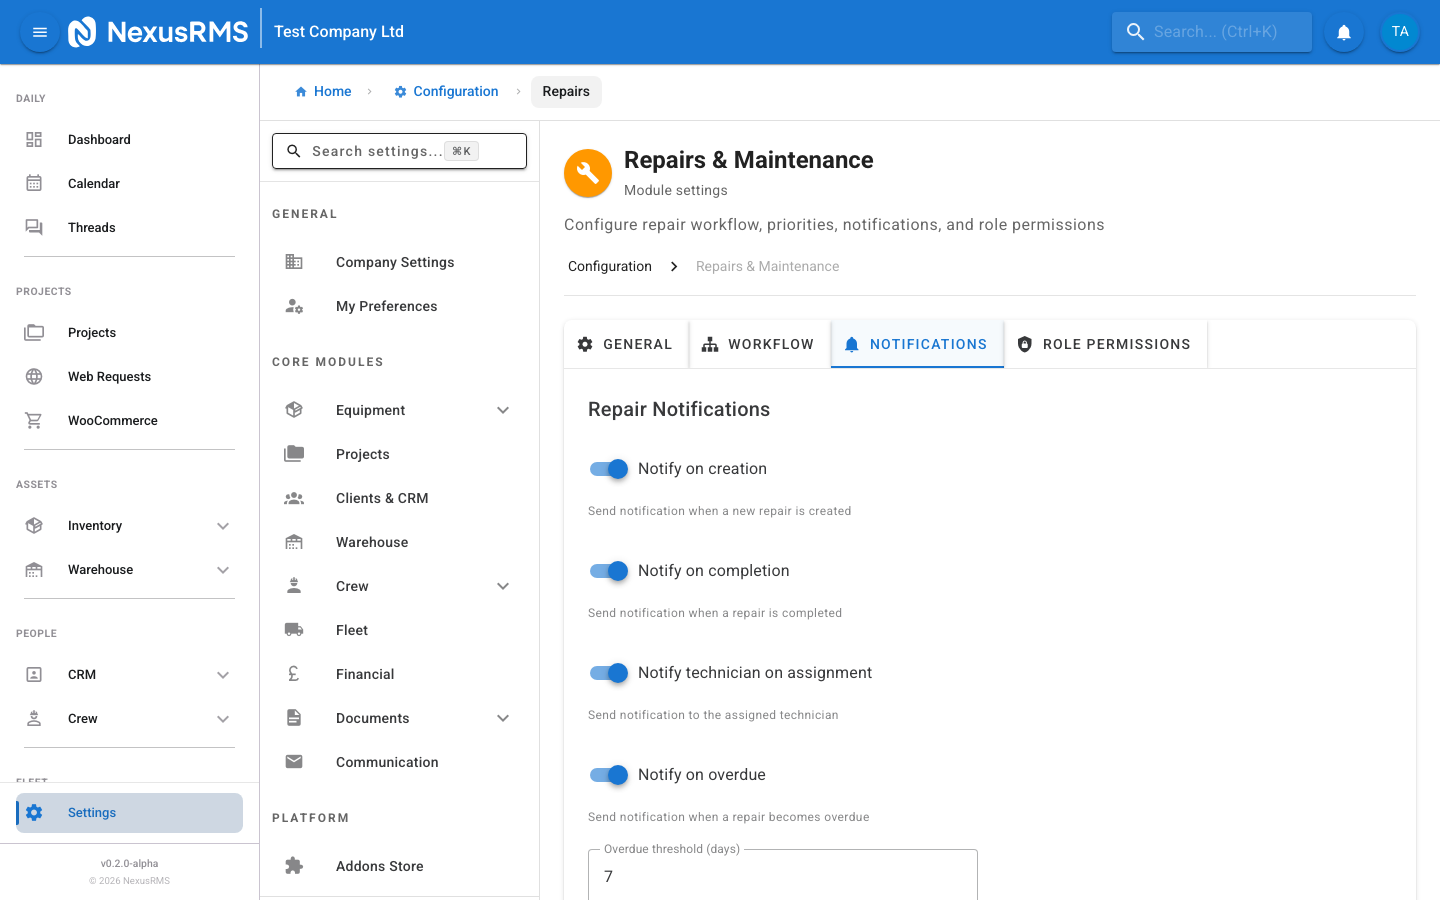
New Repair Alerts
- Notify on New Repair — Send an alert when a new repair ticket is created. Default: Enabled.
- New Repair Recipients — Who receives new repair alerts: Assigned Technician, All Technicians, CoreManagers, CoreAdmins. Default: Assigned Technician and CoreManagers.
- Include Damage Photos — When enabled, damage photos (if available) are included in the new repair alert email. Default: Enabled.
Status Change Notifications
- Notify on Status Change — Send a notification when a repair moves to a new stage in the workflow. Default: Enabled.
- Status Change Recipients — Who receives status change notifications: Assigned Technician, Repair Creator, CoreManagers. Default: Assigned Technician and Repair Creator.
SLA Breach Warnings
- Enable SLA Warnings — When enabled, alerts are sent when a repair is approaching or has exceeded its due date. Default: Enabled.
- Warning Before Due Date — How many hours before the due date to send a warning: 4 hours, 12 hours, 24 hours, 48 hours. Default: 24 hours.
- Overdue Alert — Send an alert the moment a repair passes its due date. Default: Enabled.
- SLA Warning Recipients — Who receives SLA warnings: Assigned Technician, CoreManagers, CoreAdmins. Default: Assigned Technician and CoreManagers.
Completion Notifications
- Notify on Completion — Send a notification when a repair is marked as complete. Default: Enabled.
- Completion Recipients — Who receives completion notifications: Repair Creator, CoreManagers, Warehouse Staff. Default: Repair Creator and Warehouse Staff.
- Include Repair Summary — When enabled, the completion notification includes time spent, parts used, and total cost. Default: Enabled.
Escalation Rules
- Enable Escalation — When enabled, repairs that remain in the same stage for too long are automatically escalated. Default: Disabled.
- Escalation After Hours — The number of hours a repair can stay in a stage before escalation is triggered. Default: 48 hours.
- Escalation Action — What happens when escalation triggers: Notify Manager, Increase Priority, Reassign to Senior Technician, or All of the Above. Default: Notify Manager.
- Maximum Escalation Level — The highest priority level an escalated repair can reach. Prevents automatic escalation from setting every overdue repair to Critical. Default: High.
Role Permissions tab
The Role Permissions tab controls which user roles have access to various repair actions. This ensures only authorised users can perform sensitive operations like deleting repairs or approving completions.
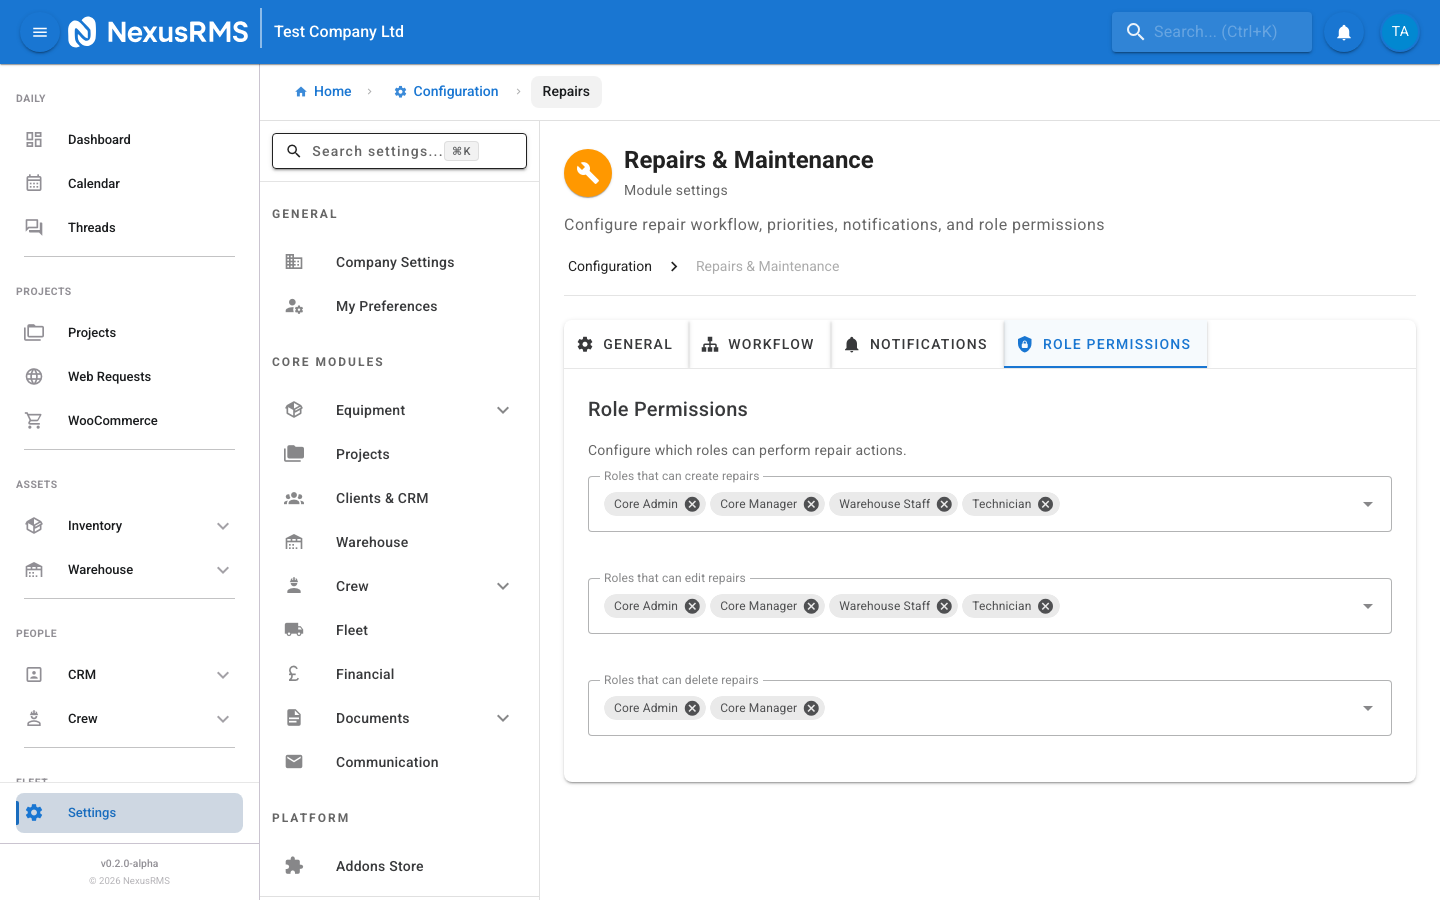
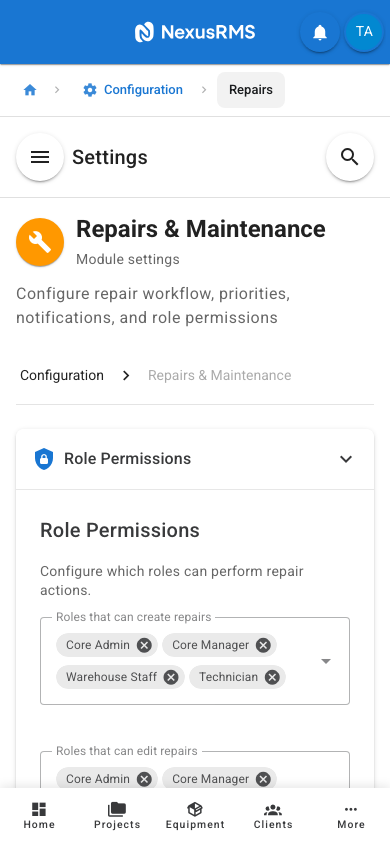
Permission Matrix
The permissions are displayed as a matrix with roles across the top and actions down the side. Toggle each permission on or off per role.
- Create Repairs — Which roles can create new repair tickets. Default: CoreAdmin, CoreManager, Warehouse Staff, Technician.
- Edit Repairs — Which roles can edit repair ticket details (description, priority, due date). Default: CoreAdmin, CoreManager, Technician (own assignments only).
- Delete Repairs — Which roles can permanently delete repair tickets. This is a destructive action and should be restricted. Default: CoreAdmin only.
- Approve Repairs — Which roles can approve stage transitions and mark repairs as complete. Default: CoreAdmin, CoreManager.
- View All Repairs — Which roles can see all repair tickets regardless of assignment. Technicians may be limited to seeing only their own assigned repairs. Default: CoreAdmin, CoreManager, Warehouse Staff.
- Reassign Repairs — Which roles can change the assigned technician on a repair. Default: CoreAdmin, CoreManager.
- View Repair Costs — Which roles can see the cost breakdown (time, parts, total) on repairs. Typically restricted from non-financial roles. Default: CoreAdmin, CoreManager.
Technician Self-Assignment
- Technician Self-Assignment — When enabled, technicians can claim unassigned repairs for themselves. This toggle is a convenient shortcut that also appears in the General tab. Default: Enabled.
- Limit Self-Assignment — The maximum number of active repairs a technician can self-assign at one time. Set to 0 for unlimited. Default: 0 (unlimited).
Manager Approval Requirements
- Require Manager Approval for Completion — When enabled, a CoreManager or CoreAdmin must approve the repair before it can be marked as complete. This adds a quality control step. Default: Disabled.
- Require Manager Approval for High/Critical — When enabled, repairs with High or Critical priority require manager approval for every stage transition, not just completion. Default: Disabled.
Tips and best practices
- Enable the equipment link requirement. A complete repair history on every equipment item is invaluable for identifying recurring problems, justifying replacements, and calculating total cost of ownership.
- Start with the default five-stage workflow and customise only after your team has used it for a few weeks. Adding too many stages upfront creates unnecessary friction.
- Require photos at the Reported and Complete stages at minimum. Before and after photos provide clear evidence of the issue and the repair quality.
- Use the SLA warning feature to keep repairs on track. A 24-hour warning before the due date gives technicians enough time to prioritise without creating panic.
- Restrict the Delete permission to CoreAdmins only. Deleting a repair removes all associated data including time logs and photos. It is almost always better to mark a repair as cancelled rather than deleting it.
Was this article helpful?