Financial Settings
Financial Settings control how NexusRMS handles invoicing, quoting, payment terms, online payments, and accounting integration. Correct configuration here ensures your documents are professionally formatted, payment workflows are smooth, and your bookkeeping stays in sync.
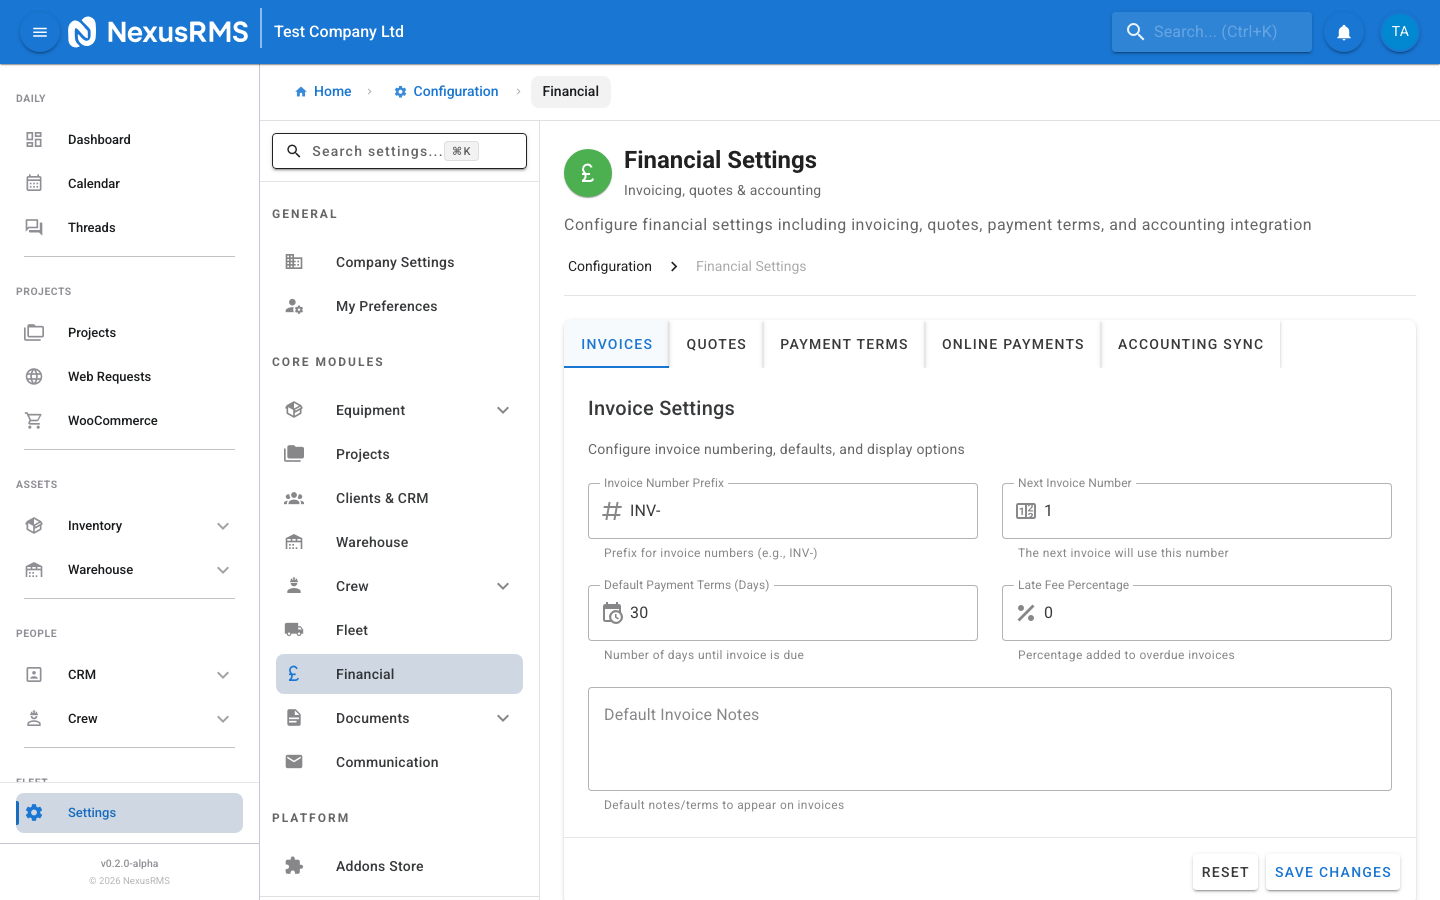
Invoices tab
The Invoices tab configures default values and formatting for all invoices generated by NexusRMS.
Invoice Number Prefix
Invoice Number Prefix sets the text prepended to all invoice numbers. For example, a prefix of INV- produces invoice numbers like INV-0001, INV-0002, and so on. Enter any combination of letters, numbers, and hyphens. Default: INV-.
Next Invoice Number
Next Invoice Number sets the next number in the invoice sequence. This is useful if you are migrating from another system and want to continue your existing numbering. For example, if your last invoice in your old system was INV-0500, set this to 501. Enter a whole number. Default: 1.
Default Payment Terms Days
Default Payment Terms Days sets the number of days from the invoice date by which payment is due. This value is automatically applied when creating a new invoice but can be overridden per invoice or per client. Common values: 7, 14, 30, or 60 days. Default: 30.
Late Fee Percentage
Late Fee Percentage sets the percentage charged on overdue invoices. When an invoice passes its due date, NexusRMS can automatically calculate a late fee based on this percentage of the outstanding balance. Enter a percentage value (e.g., 2 for 2%). Set to 0 to disable late fees. Default: 0.
Default Invoice Notes
Default Invoice Notes is a textarea where you can enter text that is automatically added to the notes section of every new invoice. Use this for standard payment instructions, terms and conditions references, or thank-you messages. For example: "Thank you for your business. Please quote the invoice number when making payment." This text can be edited on individual invoices. Default: blank.
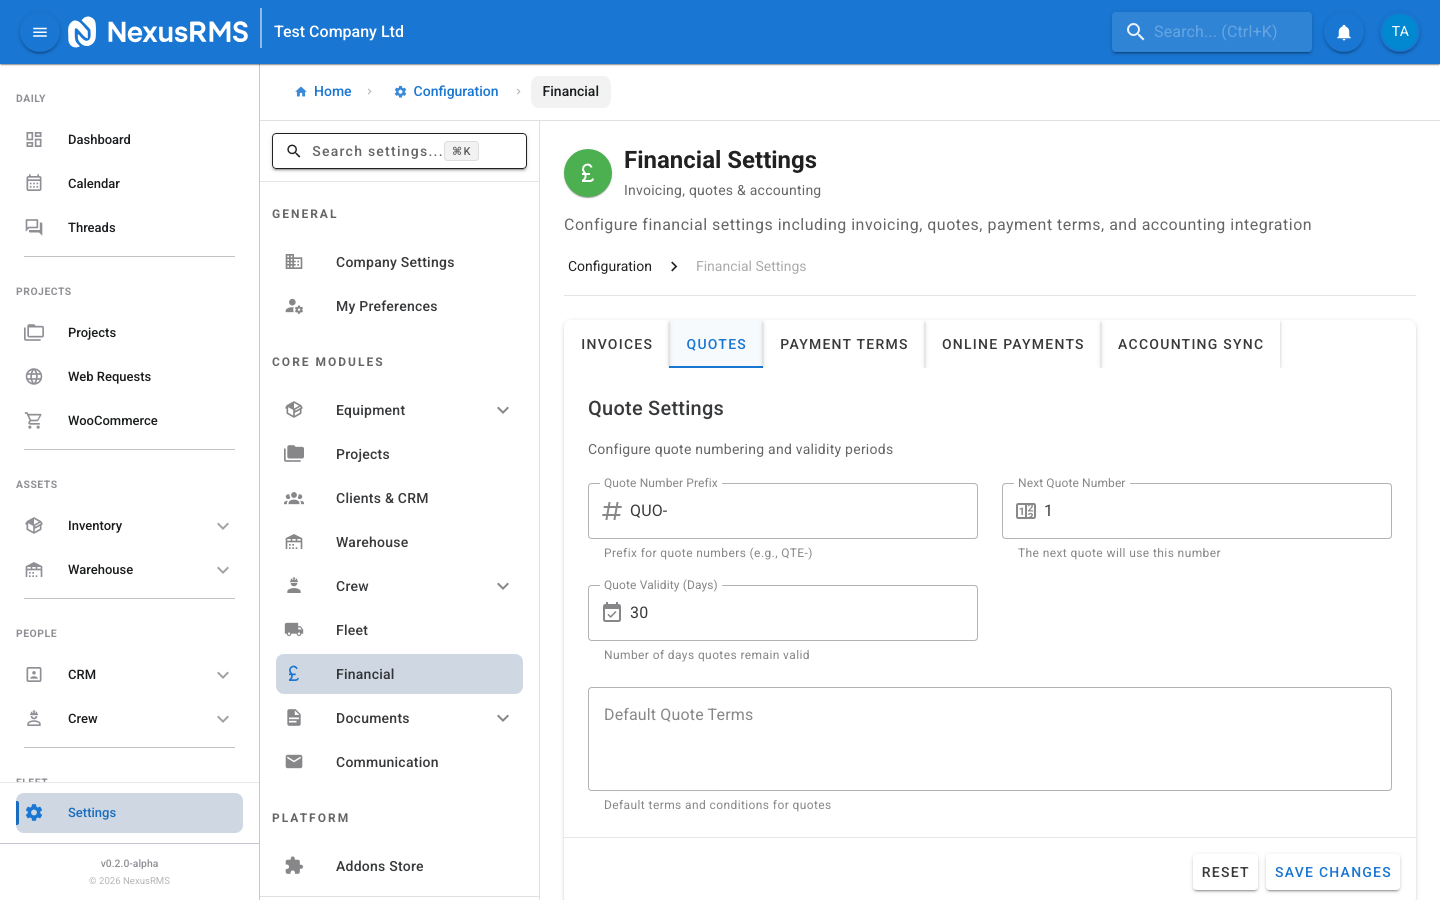
Quotes tab
The Quotes tab configures default values and formatting for all quotes generated by NexusRMS.
Quote Number Prefix
Quote Number Prefix sets the text prepended to all quote numbers. For example, a prefix of QTE- produces quote numbers like QTE-0001, QTE-0002, and so on. Enter any combination of letters, numbers, and hyphens. Default: QTE-.
Next Quote Number
Next Quote Number sets the next number in the quote sequence. This is useful for migration from another system. Enter a whole number. Default: 1.
Quote Validity Days
Quote Validity Days sets the number of days a quote remains valid from the date it is created. After this period, the quote is marked as expired and the client can no longer approve it through the Client Portal without requesting a revised quote. Common values: 7, 14, 30, or 60 days. Default: 30.
Default Quote Terms
Default Quote Terms is a textarea where you can enter the standard terms and conditions text that appears on every new quote. This typically includes cancellation policies, damage liability clauses, insurance requirements, and payment expectations. This text can be edited on individual quotes. Default: blank.
Payment Terms tab
The Payment Terms tab configures deposit requirements and payment instructions that apply across quotes and invoices.
Default Deposit Percentage
Default Deposit Percentage sets the percentage of the total project value required as a deposit. This value is automatically calculated and shown on quotes and invoices. Enter a percentage value (e.g., 50 for 50%). Set to 0 if you do not require deposits. Default: 0.
Require Deposit Before Confirmation
Require Deposit Before Confirmation is a toggle that, when enabled, prevents a project from moving to "Confirmed" status until the deposit has been received and recorded. This enforces your deposit policy at the system level. When disabled, projects can be confirmed regardless of deposit status. Default: Off.
Payment Instructions
Payment Instructions is a textarea for custom payment instructions that appear on invoices and quotes alongside your bank details. Use this for any additional guidance, such as accepted payment methods, online payment links, or specific instructions for international clients. For example: "We accept bank transfer, credit/debit card, and PayPal. For international payments, please use the IBAN and SWIFT details provided." Default: blank.
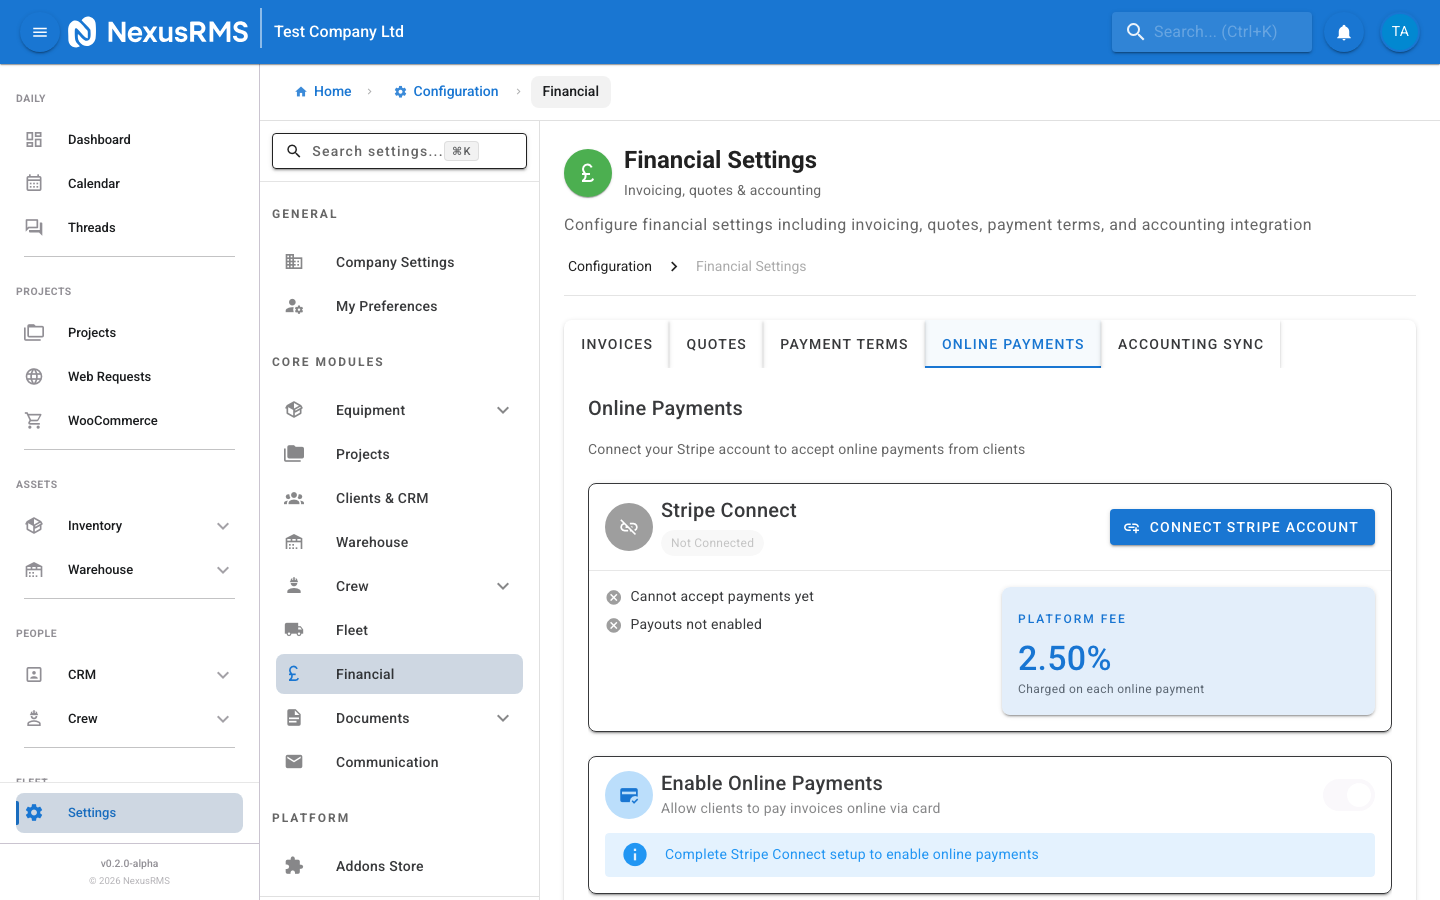

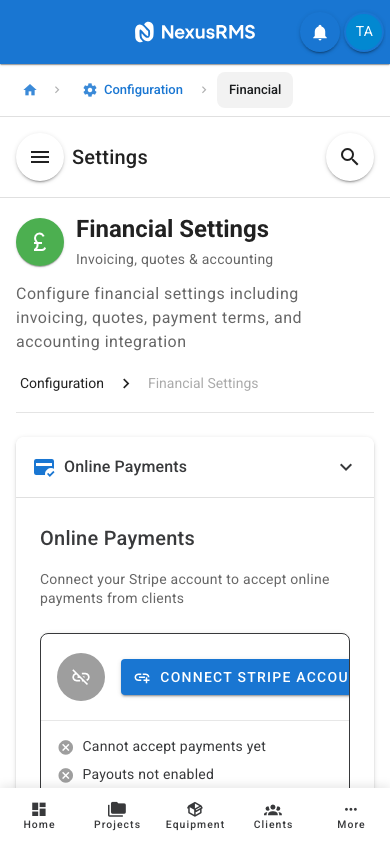
Online Payments tab
The Online Payments tab manages your Stripe Connect integration, which allows clients to pay invoices directly through the Client Portal using credit or debit cards.
Stripe Connect Integration
NexusRMS uses Stripe Connect to process online payments. This means payments go directly to your Stripe account — NexusRMS never holds your funds. The integration section displays:
- Connection Status — Shows whether your Stripe account is connected, and if so, displays your Stripe account ID
- Charges Enabled — Green indicator if your Stripe account can accept charges, red if there are issues (such as incomplete verification)
- Payouts Enabled — Green indicator if Stripe can pay out to your bank account, red if there are issues
- Platform Fee — Displays the NexusRMS platform fee percentage applied to each transaction (this is in addition to Stripe's standard processing fees)
To connect your Stripe account, click the Connect with Stripe button. You will be redirected to Stripe's onboarding flow to create or link your Stripe account. To disconnect, click the Disconnect button. Disconnecting immediately disables online payments on all outstanding invoices.
Enable Online Payments
Enable Online Payments is a toggle that controls whether the "Pay Online" button appears on invoices in the Client Portal. This toggle can only be enabled after you have connected your Stripe account. When disabled, clients can only pay via the methods described in your payment instructions and bank details. Default: Off.
How it Works
The page includes a How it Works section displayed as a timeline that walks you through the online payment flow:
- You connect your Stripe account via the button above
- You send an invoice to your client
- The client opens the invoice in the Client Portal
- The client clicks "Pay Online" and enters their card details
- Stripe processes the payment directly to your account
- NexusRMS automatically marks the invoice as paid

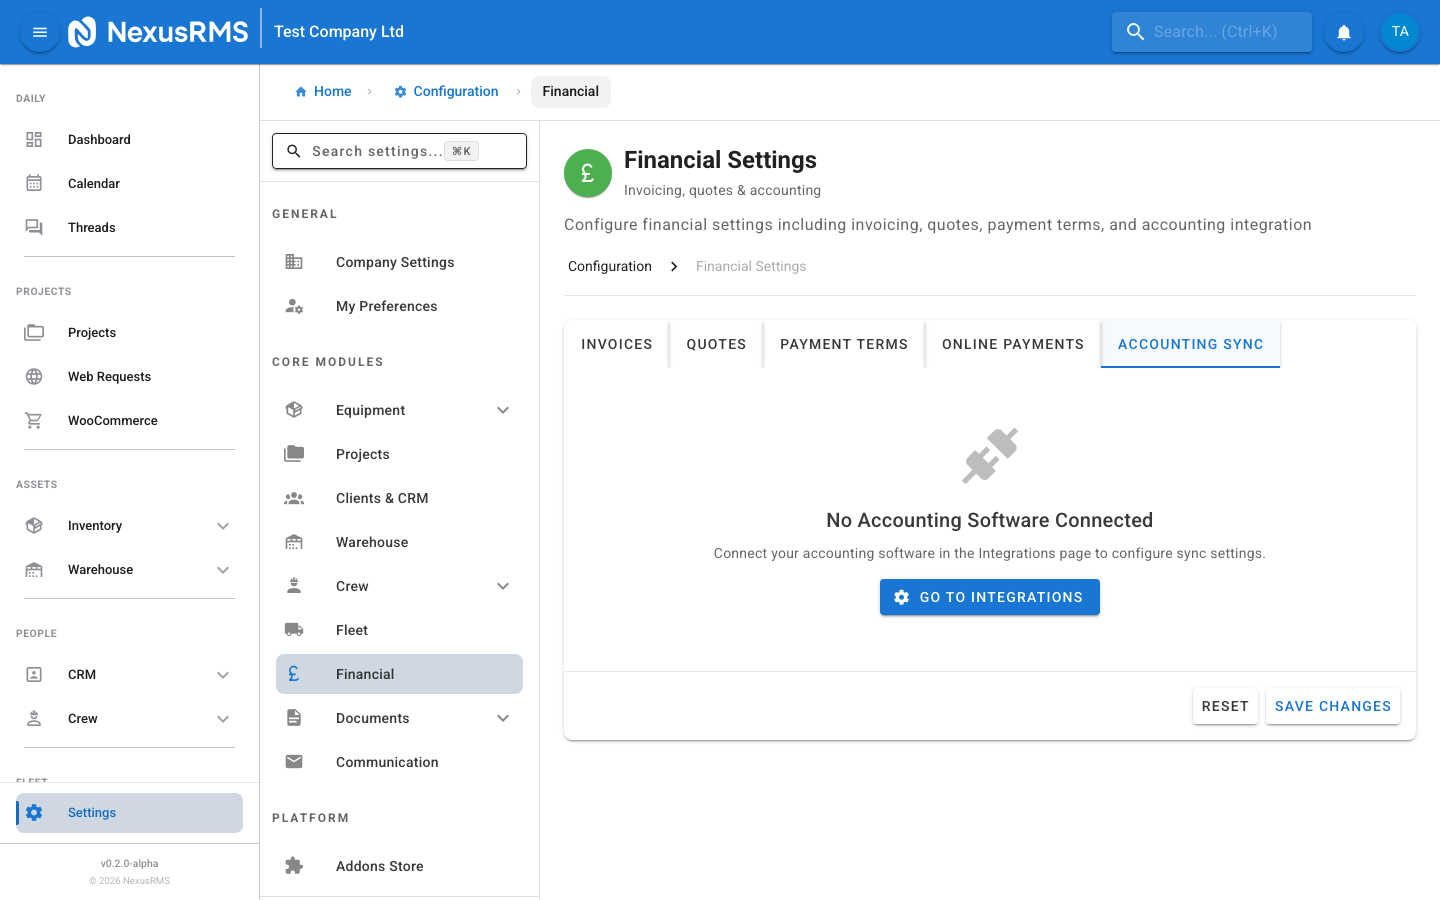
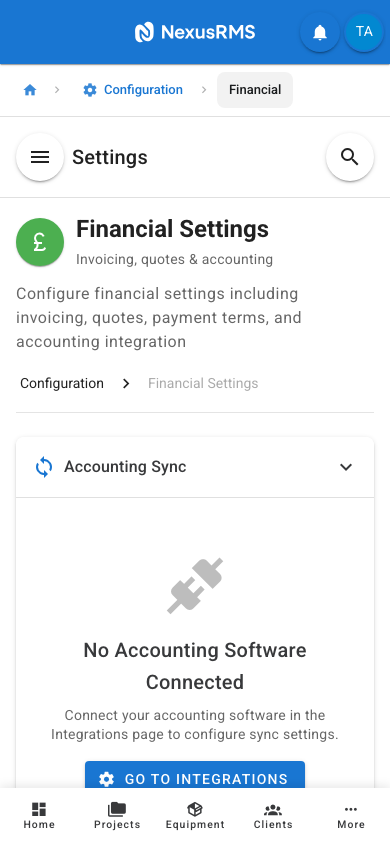
Accounting Sync tab
The Accounting Sync tab connects NexusRMS to your accounting software and controls how financial data flows between systems. Before configuring this tab, you must first connect an accounting integration (Xero, QuickBooks, or Sage) in Configuration > Integrations.
If no accounting integration is connected, this tab displays a message directing you to the Integrations settings page.
Account Mappings
Account Mappings is a table that maps NexusRMS revenue categories to your accounting software's ledger accounts and tax types. Each row represents a category of revenue:
- Equipment — Revenue from equipment rental fees
- Combinations — Revenue from equipment combination (kit) rentals
- Services — Revenue from service line items (e.g., setup, rigging, programming)
- Transport — Revenue from delivery and collection charges
- Damage — Revenue from damage charges billed to clients
- Late Fees — Revenue from late return or late payment fees
- Discounts — Discount amounts applied to invoices (typically mapped to a contra-revenue account)
- Custom Items — Revenue from manually added line items that do not fit other categories
For each category, you configure:
- Ledger Account — Select the corresponding account from your accounting software (the dropdown is populated from your connected integration)
- Tax Type — Select the applicable tax type (e.g., Standard Rate VAT, Reduced Rate, Zero Rated, Exempt)
Sync Settings
The Sync Settings section controls when and how data is synchronised between NexusRMS and your accounting software.
- Sync Mode — Controls when invoices are pushed to your accounting software. Options:
- Manual — Invoices are only synced when you manually trigger sync from the invoice detail page
- On Create — Invoices are automatically synced as soon as they are created in NexusRMS
- On Send — Invoices are automatically synced when they are sent to the client
- Scheduled — Invoices are synced at a specific time each day
- Auto-Sync Invoices — Toggle to enable automatic invoice syncing based on the sync mode. Default: Off.
- Auto-Sync Payments — Toggle to automatically record payments in your accounting software when they are marked as received in NexusRMS. Default: Off.
- Auto-Sync Clients — Toggle to automatically create or update client records in your accounting software when clients are added or modified in NexusRMS. Default: Off.
- Scheduled Daily Sync Time — When Sync Mode is set to Scheduled, this field sets the time of day (in your workspace timezone) when the daily sync runs. Displayed as a time picker. Default: 02:00 (2:00 AM).
- Default Tax Type — The tax type applied to line items that do not have a specific mapping configured. Options are populated from your accounting software. Default: varies by integration.
Sync Statistics
The bottom of the tab displays Sync Statistics cards showing:
- Total invoices synced
- Total payments synced
- Total clients synced
- Last sync time and status (success/failed)
- Pending items awaiting sync
Tips and best practices
- Set your invoice prefix to match your existing system — If you are migrating from another tool, keep the same prefix and set the next number to continue your sequence. This avoids duplicate or confusing invoice numbers.
- Keep quote validity short — 14–30 days is typical for the rental industry. Long validity periods can lead to pricing discrepancies if your rates change.
- Write clear default invoice notes — Include your standard payment instructions, bank transfer details, and a thank-you message. This saves time on every invoice and ensures consistent communication.
- Connect Stripe Connect early — Online payments significantly speed up cash flow. Most clients prefer paying by card when the option is available. Set this up during your trial so it is ready when you go live.
- Map accounts before enabling auto-sync — If you are connecting to Xero, QuickBooks, or Sage, carefully map every revenue category to the correct ledger account first. Incorrect mappings create bookkeeping errors that are tedious to fix.
- Start with Manual sync mode — Until you are confident your account mappings are correct, use Manual mode so you can review each sync before it happens. Switch to On Send or Scheduled once you trust the configuration.
- Use the deposit requirement for high-value projects — Enable the "Require Deposit Before Confirmation" toggle if you regularly deal with large projects. This protects your business from last-minute cancellations on projects where you have already allocated equipment and crew.
Next steps
Continue to the next article to learn about Client Settings, where you will configure client numbering, credit limits, and the Client Portal.
Was this article helpful?