Project Settings
Project Settings control how NexusRMS handles your rental bookings. Configure reusable templates, numbering formats, required fields, sub-project behaviour, AI features, recurring project rules, field-level permissions for different user roles, and multi-day pricing factor groups.
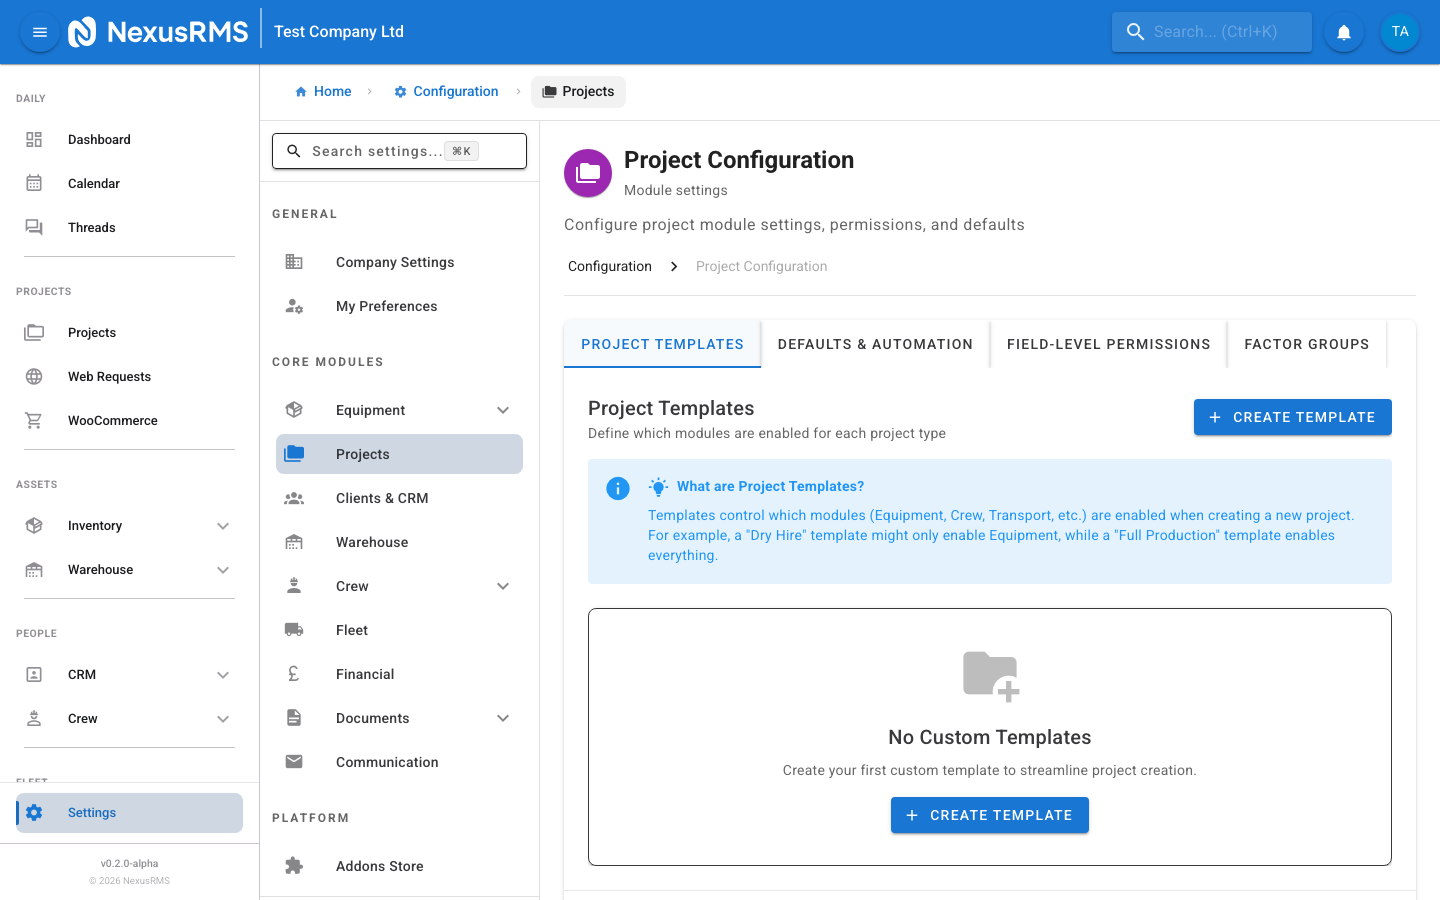
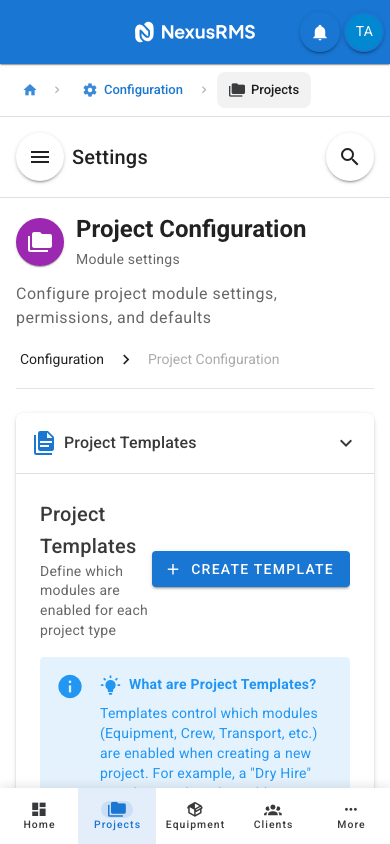
Project Templates tab
The Project Templates tab lets you create and manage reusable templates that define the structure and enabled modules for new projects. When a team member creates a project, they select a template that pre-configures which sections (Equipment, Crew, Transport, and so on) are active.
Creating a template
Click the Create Template button to open the template editor. Enter a template name, an optional description, and toggle the modules you want enabled for projects using this template. Available modules include:
- Equipment — Equipment selection, allocation, and tracking
- Crew — Crew scheduling, role assignment, and time tracking
- Transport — Delivery and collection logistics, vehicle assignment
- RAMS — Risk assessments and method statements
- Phase Planning — Multi-phase project timeline management
- Site Mapping — Venue layout and equipment placement
Editing, duplicating, and deleting templates
Each template in the list has action buttons for Edit, Duplicate, and Delete. Editing opens the same form as creation. Duplicating creates a copy with "(Copy)" appended to the name. Deleting removes the template permanently — existing projects that used the template are not affected.
System templates
NexusRMS includes built-in system templates (e.g., "Standard Event", "Dry Hire") that cannot be edited or deleted. You can duplicate a system template and modify the copy if you need a similar starting point.
Usage statistics
Each template card displays a usage count showing how many projects have been created using that template. This helps you identify which templates are most popular with your team and which might be candidates for removal.
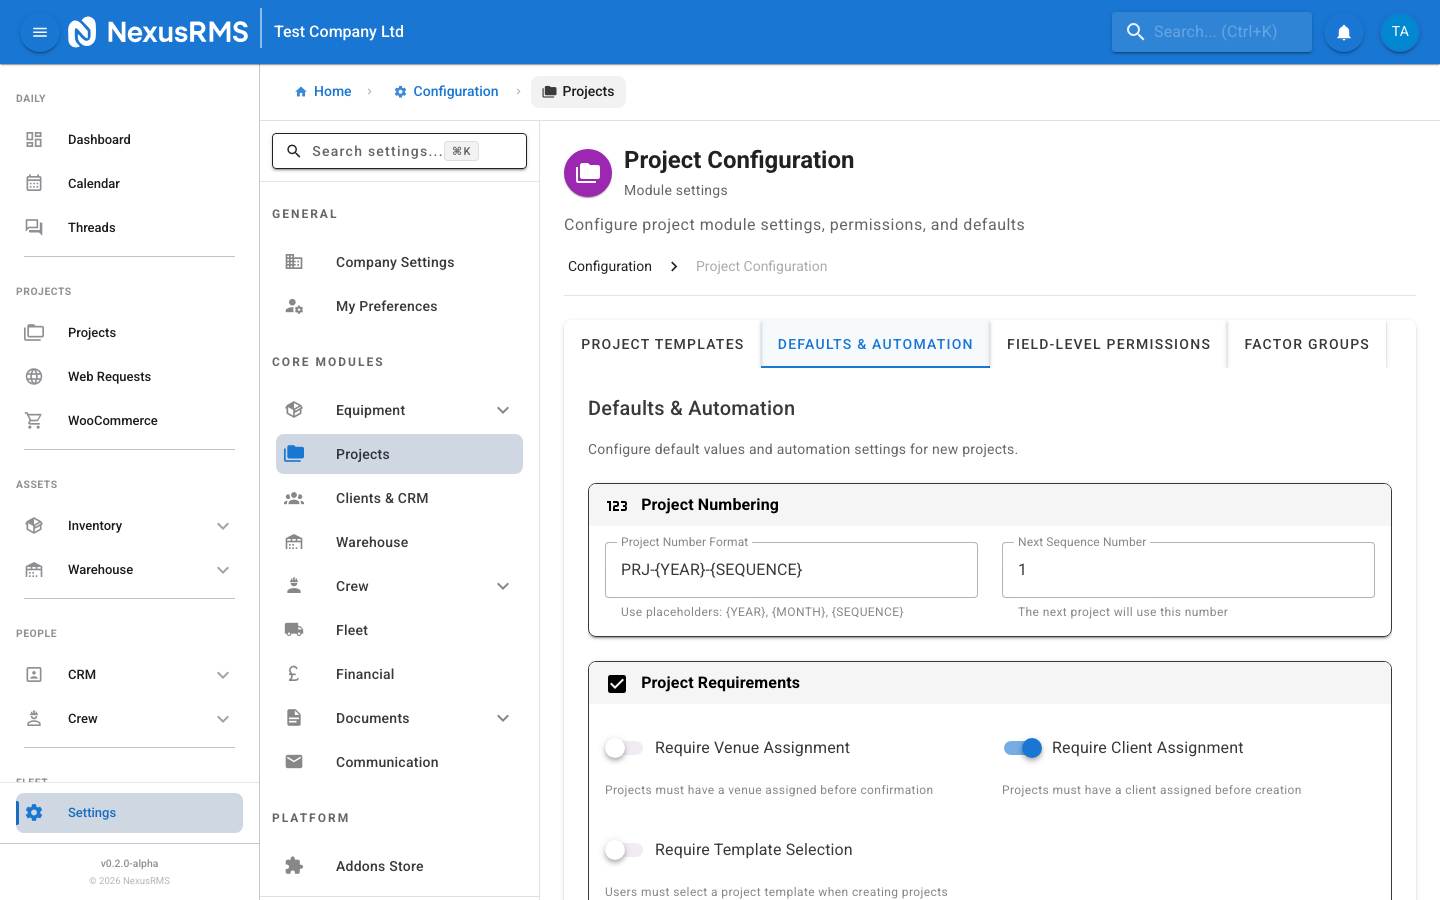
Defaults & Automation tab
The Defaults & Automation tab configures project numbering, required fields, sub-project behaviour, auto-archiving, AI features, and recurring project rules.
Project Number Format
Project Number Format defines the pattern used to generate project reference numbers. You can use the following placeholders:
- {YEAR} — Replaced with the four-digit year (e.g., 2026)
- {MONTH} — Replaced with the two-digit month (e.g., 02)
- {SEQUENCE} — Replaced with an auto-incrementing number
Example: A format of PRJ-{YEAR}-{SEQUENCE} produces numbers like PRJ-2026-00001, PRJ-2026-00002, and so on. Default: PRJ-{YEAR}-{SEQUENCE}.
Next Sequence Number
Next Sequence Number lets you set or reset the sequence counter. This is useful if you are migrating from another system and want your NexusRMS project numbers to continue from where you left off. Enter a whole number. Default: 1.
Require Venue
Require Venue is a toggle that, when enabled, forces users to assign a venue to every project before it can be saved. When disabled, the venue field is optional. Default: Off.
Require Client
Require Client is a toggle that, when enabled, forces users to assign a client to every project before it can be saved. When disabled, the client field is optional (useful for internal projects). Default: Off.
Require Template
Require Template is a toggle that, when enabled, forces users to select a project template when creating a new project. When disabled, projects can be created without a template, and all modules are enabled by default. Default: Off.
Sub-Projects
Sub-projects allow you to break a large event into independent sections that share a single client and invoice.
- Enable Sub-Projects — Master toggle to enable or disable the sub-project feature. Default: On.
- Max Nesting Level — How many levels deep sub-projects can be nested. Options: 1 (sub-projects only), 2 (sub-sub-projects), or 3 (three levels deep). Default: 1. Most businesses only need 1 level.
- Independent Dates — When enabled, each sub-project can have its own start and end dates independent of the parent project dates. When disabled, sub-projects inherit the parent's dates. Default: On.
Auto-Archive Days
Auto-Archive Days sets the number of days after a project's end date before it is automatically moved to the archive. Set to 0 to disable auto-archiving entirely (projects must be archived manually). Default: 0 (disabled). Common values: 30, 60, or 90 days.
Default Status
Default Status sets the initial status assigned to newly created projects. Options:
- Draft — Project is being planned and is not yet visible to clients
- Quote — Project is in the quoting stage
- Confirmed — Project is confirmed and ready for preparation
Default: Draft.
AI Features
NexusRMS includes AI-powered assistance for project planning. Each feature is an independent toggle:
- Equipment Suggestions — AI suggests equipment based on client history, venue patterns, and co-usage data. Default: On. (Detailed configuration in Equipment Settings > AI Suggestions tab.)
- Crew Suggestions — AI recommends crew members based on their skills, availability, and past project experience. Default: On.
- Pricing Suggestions — AI analyses historical pricing data to suggest optimal pricing for equipment and services. Default: Off.
- Schedule Suggestions — AI recommends optimal load-in/load-out times and crew shifts based on venue data and project complexity. Default: Off.
Recurring Projects
Recurring project settings control how NexusRMS handles projects that repeat on a regular schedule (e.g., weekly residencies, monthly corporate events).
- Enable Recurring Projects — Master toggle for the recurring project feature. Default: On.
- Max Occurrences — The maximum number of future occurrences that can be generated from a recurring project template. Default: 52 (one year of weekly events). Range: 1–520.
- Auto-Create Days — How many days in advance the system should automatically create the next occurrence. For example, a value of 14 means the next project is created 14 days before its start date. Default: 14.
- Invoice Strategy — Controls how recurring projects are invoiced. Options:
- per_occurrence — Each occurrence generates its own separate invoice
- consolidated_monthly — All occurrences within a calendar month are combined into a single invoice
- consolidated_all — All occurrences are combined into a single invoice at the end of the recurrence series

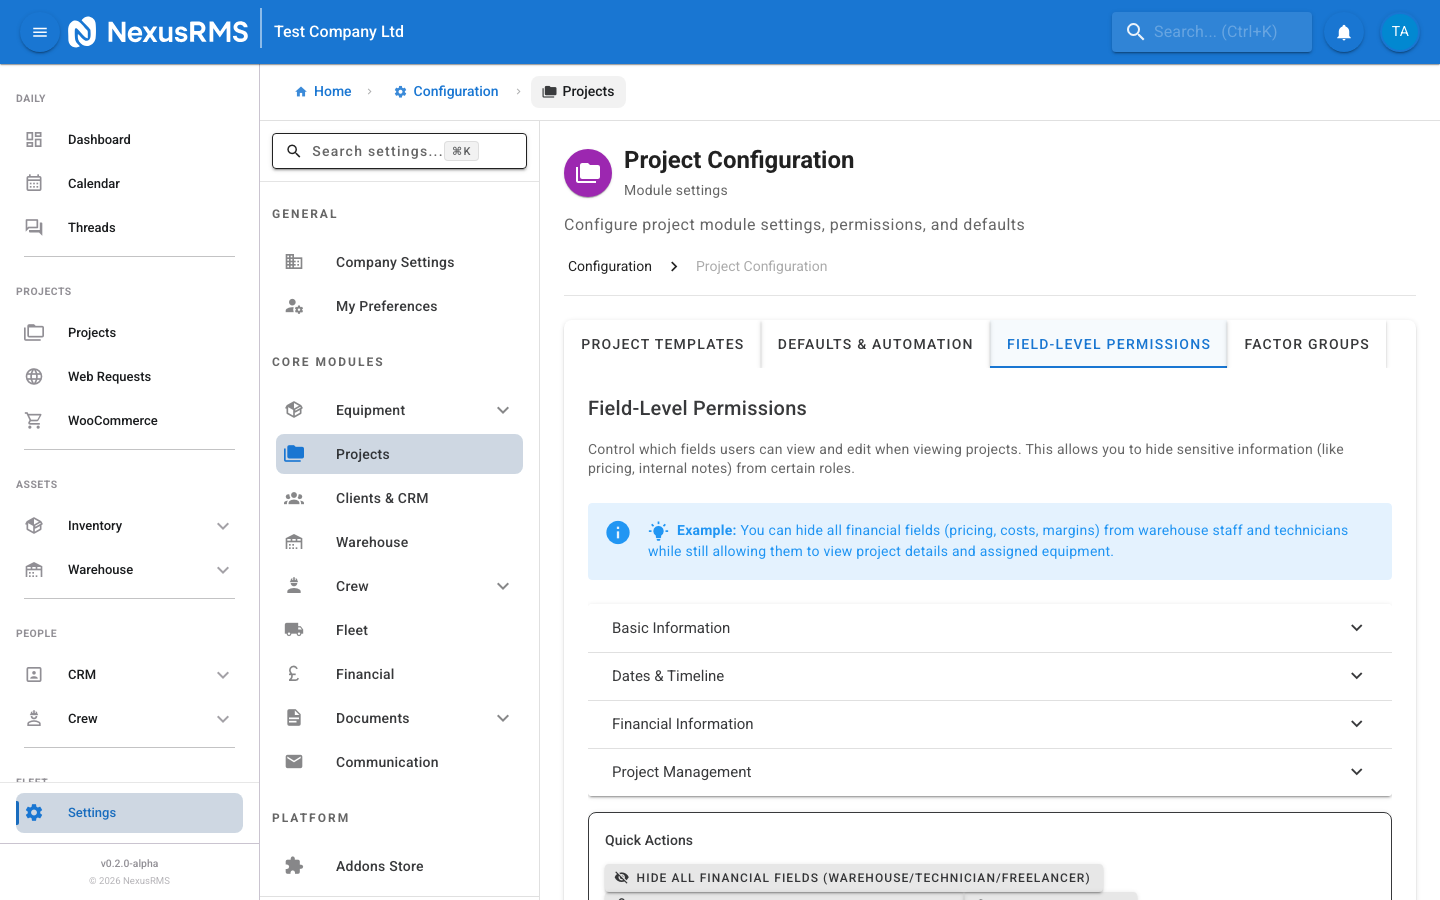
Field-Level Permissions tab
The Field-Level Permissions tab gives you granular control over which project fields each user role can see and edit. This is critical for controlling financial visibility and sensitive project data.
How it works
The page displays a matrix with user roles across the top and field groups down the left side. For each field, you can set the access level per role:
- Edit — The user can view and modify the field
- View Only — The user can see the field but cannot change it
- Hidden — The field is completely invisible to the user
User roles
The following roles are available as columns in the permissions matrix:
- Core Admin — Always has full Edit access to all fields (cannot be restricted)
- Warehouse Staff — Typically needs access to equipment and logistics fields but not financial data
- Technician — Typically needs access to technical and scheduling fields
- Freelancer — External crew members who should only see information relevant to their assignment
Field groups
Fields are organised into the following groups:
- Basic Info — Project name, reference number, description, tags, and category
- Dates & Timeline — Start date, end date, load-in date/time, load-out date/time, and setup/breakdown windows
- Financial — Total value, quoted price, discount, deposit, payment status, profit margin, and cost breakdown
- Project Management — Status, assigned manager, notes, internal comments, checklist, and custom fields
Quick Actions
The page includes Quick Action buttons at the top for common configurations:
- Hide Financials from Non-Admins — Sets all Financial group fields to Hidden for Warehouse Staff, Technician, and Freelancer roles
- View Only for Freelancers — Sets all fields to View Only for the Freelancer role
- Reset to Defaults — Reverts all permissions to the factory default configuration

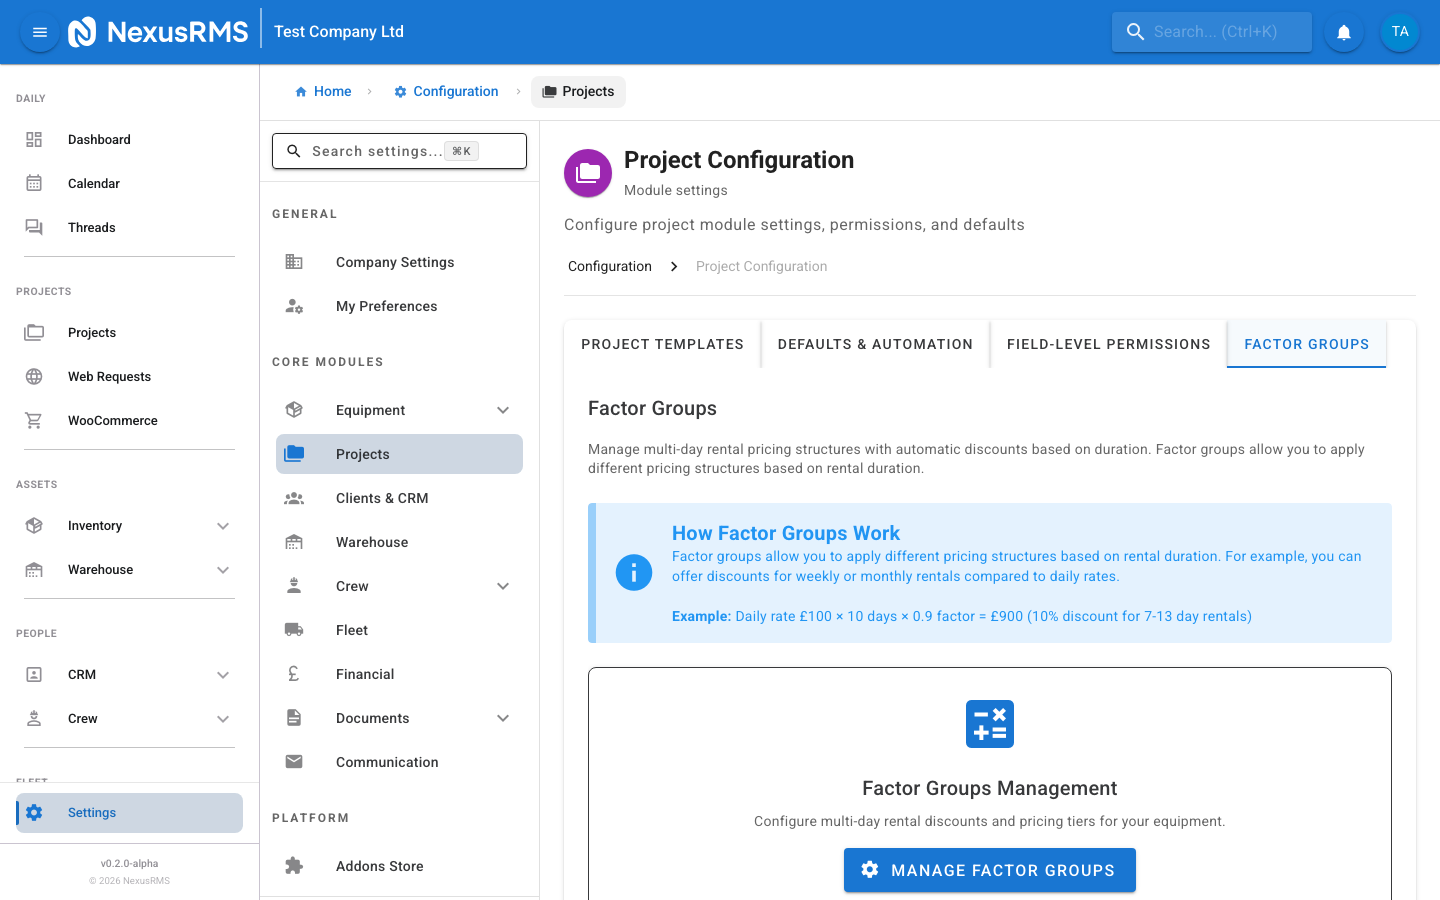
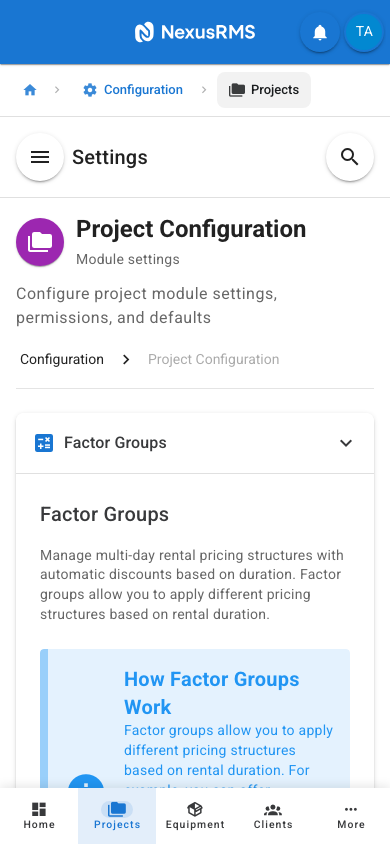
Factor Groups tab
The Factor Groups tab configures multi-day rental pricing. Factor groups define pricing multipliers for different rental durations, so you can offer discounted rates for longer rentals.
How factor groups work
A factor group is a set of rules that map rental duration (in days) to a pricing multiplier. For example, a common setup might be:
- Day 1: Factor 1.0 (full day rate)
- Day 2: Factor 0.5 (50% of day rate)
- Day 3: Factor 0.5
- Days 4–7: Factor 0.25 (25% of day rate)
- Days 8+: Factor 0.1 (10% of day rate)
This means a 7-day rental of a £100/day item would cost £100 + £50 + £50 + £25 + £25 + £25 + £25 = £300 instead of £700.
Managing factor groups
The tab displays a summary of your existing factor groups and provides a link to the dedicated Factor Groups management page, where you can create, edit, duplicate, and delete factor groups. Each equipment item or category can be assigned a specific factor group, or it will use the default.
Tips and best practices
- Create templates for your most common event types — If 80% of your projects are "Dry Hire" (equipment only, no crew), create a template that only enables Equipment and Transport modules. This speeds up project creation and reduces clutter.
- Use a meaningful project number format — Including {YEAR} in your format makes it easy to identify when a project was created. Including {MONTH} can help if you handle a very high volume.
- Hide financial fields from warehouse and crew — Use the Field-Level Permissions Quick Action to hide all financial data from non-admin roles. This prevents sensitive pricing information from being visible to warehouse staff, technicians, and freelancers.
- Set up factor groups before your first multi-day quote — Clients will expect multi-day discounts. Configure factor groups early so your first quotes reflect your actual pricing structure.
- Start with sub-project nesting at 1 level — Most events only need one level of sub-projects (e.g., Main Stage, VIP Area). Only increase nesting if you genuinely have sub-sub-projects.
- Choose your recurring invoice strategy carefully — Per-occurrence invoicing is simplest for both you and your client. Consolidated monthly is better for clients who prefer a single monthly payment.
Next steps
Continue to the next article to learn about Financial Settings, where you will configure invoice and quote numbering, payment terms, online payments via Stripe Connect, and accounting sync.
Was this article helpful?