General Settings
General Settings is the first configuration area you should visit after creating your NexusRMS account. It controls your company identity, how numbers and currencies are displayed, regional preferences, core business details, and the terminology used throughout the system. Everything configured here flows into documents, reports, and client-facing pages.
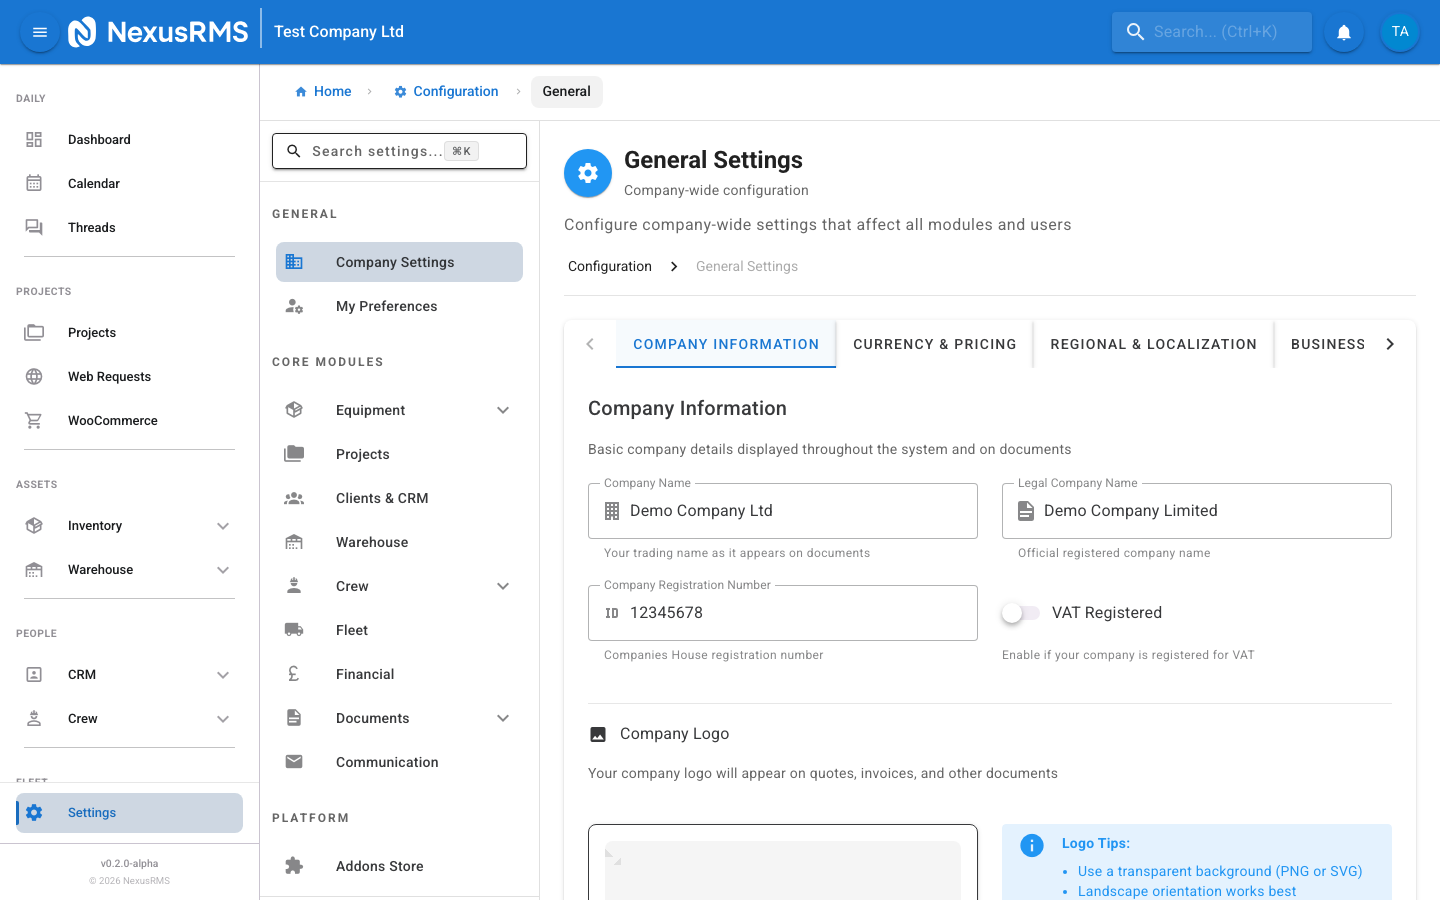
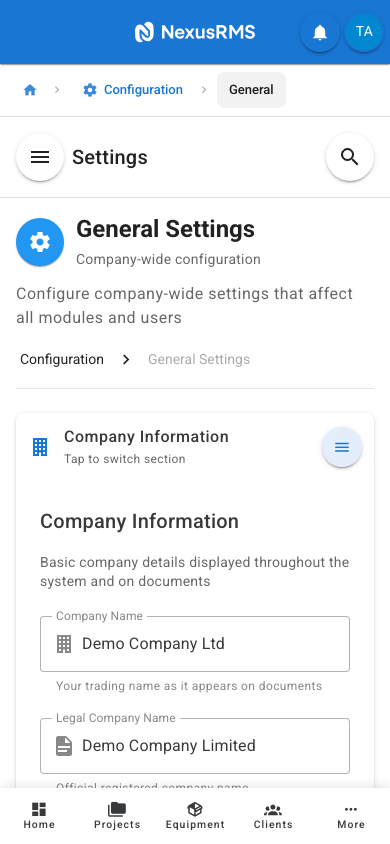
Company Information tab
The Company Information tab stores your business identity. These details appear on quotes, invoices, contracts, delivery notes, and the Client Portal.
Company Name
Company Name is your trading name — the name displayed on all documents, headers, and client-facing materials. If your trading name differs from your registered legal name, enter the trading name here. This field is required and cannot be left blank.
Legal Company Name
Legal Company Name is your officially registered company name as it appears on Companies House (or your country's equivalent registry). This is used in the footer of invoices and contracts where legal identification is required. If you are a sole trader, enter your full legal name.
Company Registration Number
Company Registration Number is your Companies House registration number (e.g., 12345678). This appears in the footer of formal documents alongside your legal company name. Leave blank if you are not a registered company.
VAT Registered
VAT Registered is a toggle that indicates whether your business is registered for VAT (or equivalent sales tax). When enabled, additional VAT-related fields appear throughout the system, including VAT breakdowns on invoices and quotes. Default: Off.
VAT Number
VAT Number appears only when the VAT Registered toggle is enabled. Enter your VAT registration number in the format required by your tax authority (e.g., GB123456789 for UK businesses). This number is printed on all tax invoices and quotes.
Company Logo
Company Logo lets you upload your business logo. The logo appears in the top-left of your workspace, on PDF documents (quotes, invoices, contracts, delivery notes), and in the Client Portal. Accepted formats are PNG and SVG (SVG recommended for crisp rendering at all sizes). Maximum file size is 2MB. Minimum dimensions are 200 x 80 pixels. After uploading, a crop dialog lets you adjust the visible area. To remove a logo, click the delete icon next to the current logo preview.
Company Email
Company Email is the primary business email address. This is used as the reply-to address on automated emails and appears on documents as your contact email. It does not need to match the CoreAdmin's personal login email.
Company Phone
Company Phone is your main business phone number. Displayed on documents and in the Client Portal contact section. Include the country code for international formatting (e.g., +44 20 7946 0958).
Company Website
Company Website is your business website URL. Shown on documents and in the Client Portal. Enter the full URL including https:// (e.g., https://www.yourcompany.com).
Address
Your business address is split into the following fields:
- Address Line 1 — Street address or building name (required)
- Address Line 2 — Suite, unit, or floor number (optional)
- City — City or town (required)
- Postcode — Postal code or ZIP code (required)
- Country — Selected from a dropdown of all countries (required, default: United Kingdom)
This address appears on invoices, quotes, and other formal documents as your registered business address.
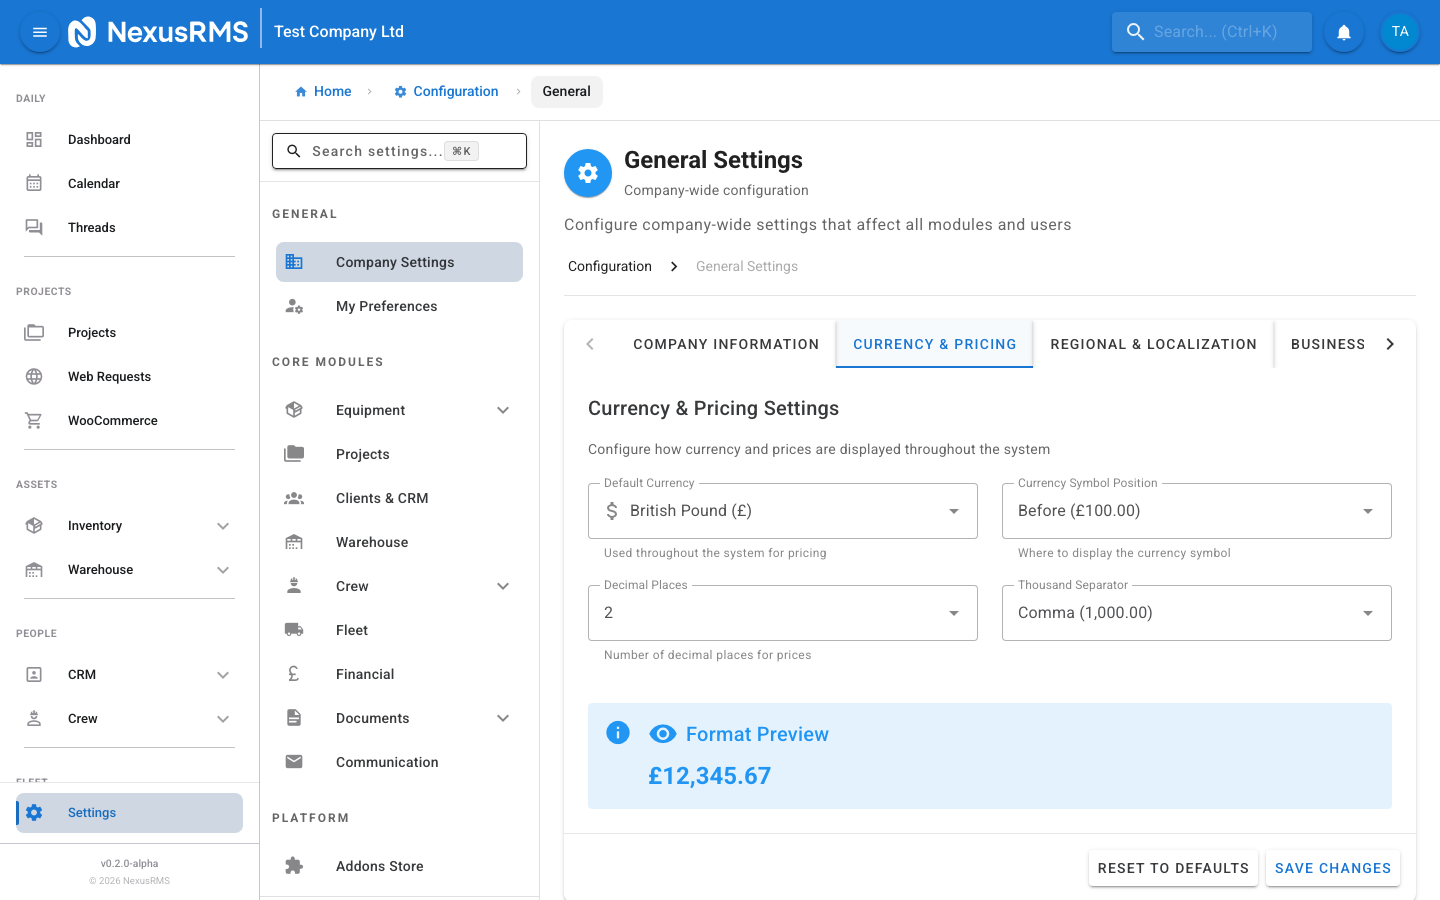
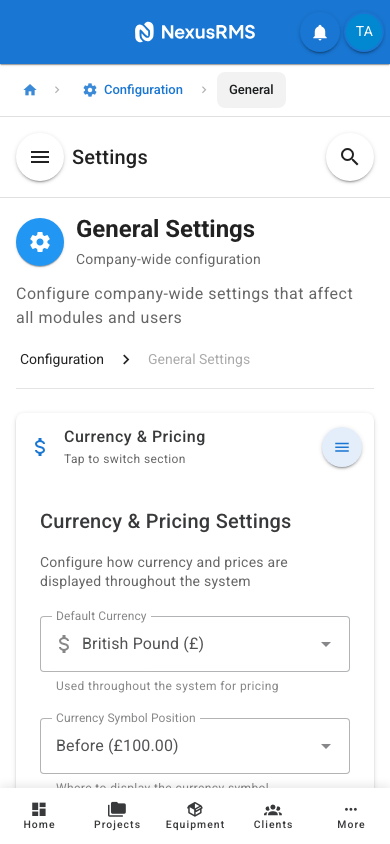
Currency & Pricing tab
The Currency & Pricing tab controls how monetary values are formatted across the entire system, including equipment pricing, quotes, invoices, reports, and dashboards.
Default Currency
Default Currency sets the primary currency for your workspace. Available options: GBP (British Pound), USD (US Dollar), EUR (Euro), CAD (Canadian Dollar), AUD (Australian Dollar). Default: GBP. This determines the currency symbol and ISO code used throughout the system. Changing this does not retroactively convert existing prices — it only affects how new values are displayed.
Currency Symbol Position
Currency Symbol Position controls whether the currency symbol appears before or after the number. Options: Before (e.g., £100.00) or After (e.g., 100.00£). Default: Before.
Decimal Places
Decimal Places sets the number of decimal places shown in monetary values. Options: 0, 1, 2, 3, or 4. Default: 2. Most businesses use 2 decimal places. Use 0 if your pricing is always in whole numbers.
Thousand Separator
Thousand Separator controls the character used to separate thousands in large numbers. Options: Comma (e.g., 1,000.00), Space (e.g., 1 000.00), or None (e.g., 1000.00). Default: Comma.
Format Preview
Format Preview is a read-only field that shows a sample value formatted with your current settings. For example, if you have GBP selected with the symbol before the amount, 2 decimal places, and a comma thousand separator, the preview displays £1,234.56. This updates in real time as you change settings.
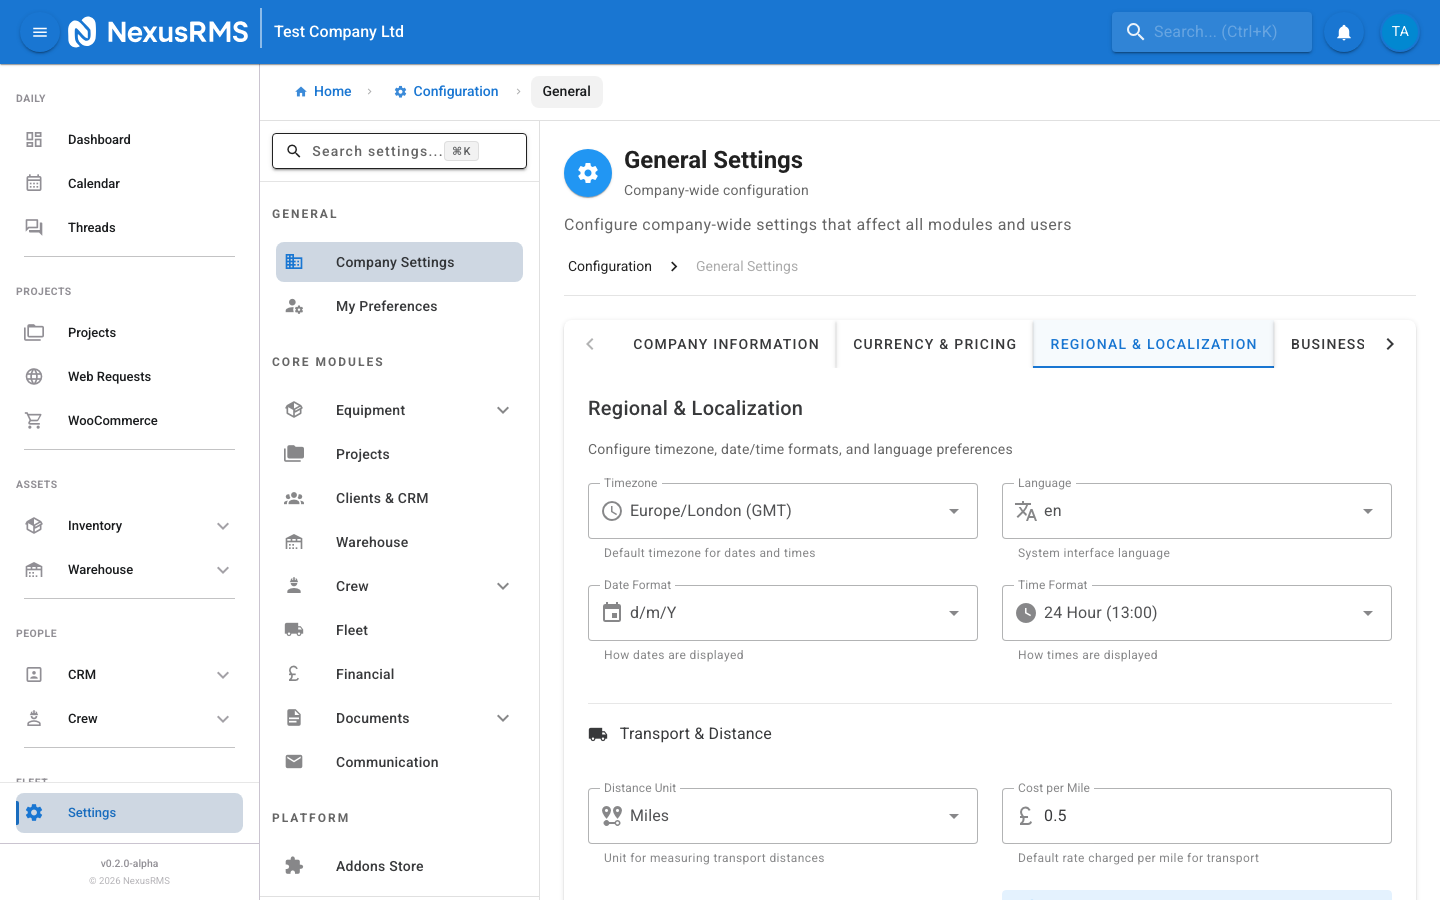
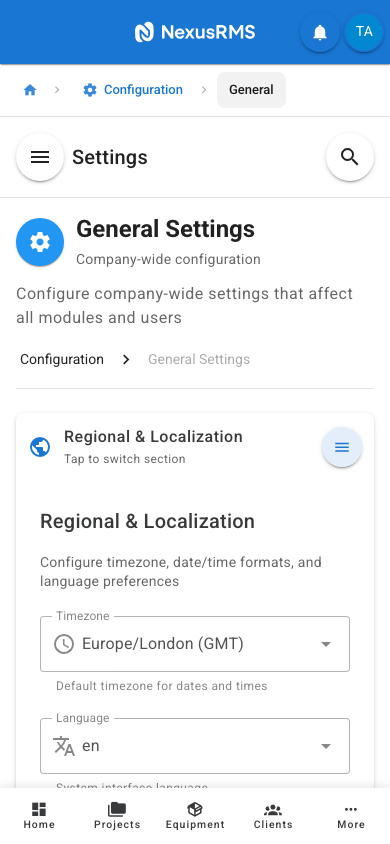
Regional & Localization tab
The Regional & Localization tab controls date, time, and distance formatting, as well as language and transport cost calculation.
Timezone
Timezone sets the default timezone for your workspace. All dates and times across the system are displayed in this timezone. Select from a full list of IANA timezones (e.g., Europe/London, America/New_York, Australia/Sydney). Default: Europe/London. Individual users can override this in their personal profile settings.
Language
Language sets the display language for the interface. Available options: en-GB (English - UK), en-US (English - US), fr (French), de (German), es (Spanish). Default: en-GB. This affects interface labels, button text, and system-generated content. Document templates have their own language settings.
Date Format
Date Format controls how dates are displayed across the system. Available options: DD/MM/YYYY (e.g., 13/02/2026), MM/DD/YYYY (e.g., 02/13/2026), YYYY-MM-DD (e.g., 2026-02-13), DD.MM.YYYY (e.g., 13.02.2026), DD-MM-YYYY (e.g., 13-02-2026). Default: DD/MM/YYYY.
Time Format
Time Format controls whether times are displayed in 24-hour or 12-hour format. Options: 24-hour (e.g., 14:30) or 12-hour (e.g., 2:30 PM). Default: 24-hour.
Distance Unit
Distance Unit sets the measurement unit for transport distances. Options: Miles or Kilometres. Default: Miles. This affects distance calculations in the Transport module and crew mileage tracking.
Cost per Mile/Kilometre
Cost per Mile (or Cost per Kilometre, depending on your Distance Unit selection) sets the default rate used when calculating transport costs. Enter a value in your default currency. Default: 0.00. This value is used when the auto-calculate transport costs feature is enabled.
Auto-calculate Transport Costs
Auto-calculate Transport Costs is a toggle that, when enabled, automatically calculates delivery and collection transport costs based on the venue distance and the cost per mile/kilometre rate. When disabled, transport costs must be entered manually on each project. Default: Off.
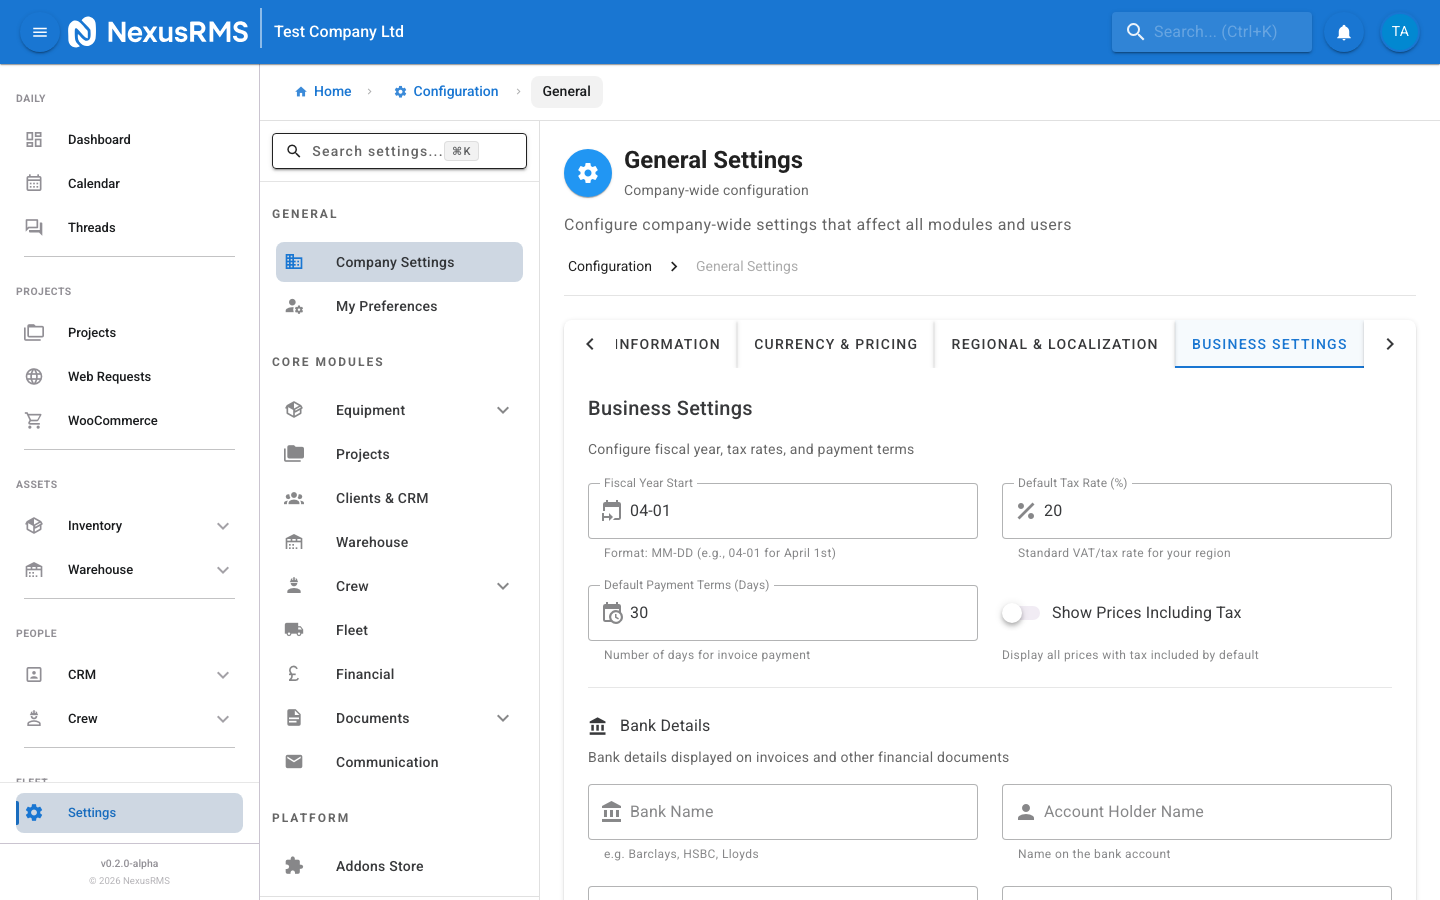
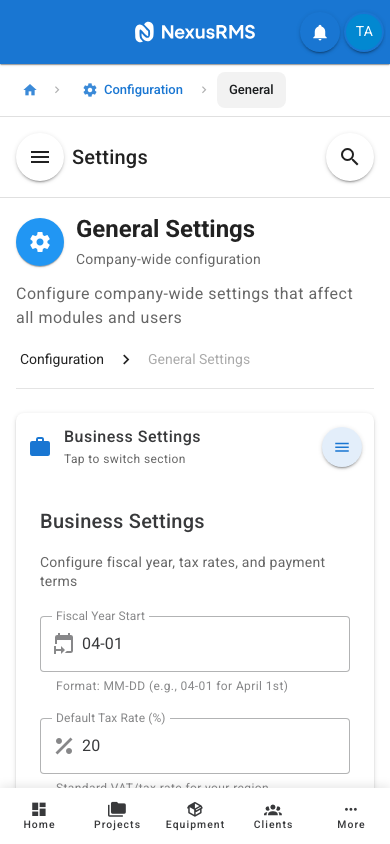
Business Settings tab
The Business Settings tab configures your fiscal year, default tax and payment terms, and bank details for invoice payments.
Fiscal Year Start
Fiscal Year Start sets the month and day your financial year begins, in MM-DD format (e.g., 04-06 for 6th April, which is the UK tax year start). This is used by the Analytics and Financial modules to calculate year-to-date figures, annual reports, and fiscal period comparisons. Default: 01-01 (1st January).
Default Tax Rate
Default Tax Rate sets the standard tax percentage applied to new items, quotes, and invoices. Enter a percentage value (e.g., 20 for 20% UK VAT). Default: 20. You can override this rate on individual items or line items. This field is relevant regardless of the VAT Registered toggle — it sets a default rate for any applicable tax.
Default Payment Terms
Default Payment Terms sets the number of days from invoice date by which payment is due. Common values: 7, 14, 30, 60, or 90 days. Default: 30. This value is used as the default when creating new invoices but can be overridden per invoice or per client.
Show Prices Including Tax
Show Prices Including Tax is a toggle that controls whether prices throughout the system are displayed inclusive or exclusive of tax. When enabled, all displayed prices include tax (gross). When disabled, prices are shown excluding tax (net) with the tax amount shown separately. Default: Off (prices shown excluding tax).
Bank Details
The Bank Details section stores your payment information, which appears on invoices so clients know where to send payment. All bank detail fields are optional.
- Bank Name — The name of your bank (e.g., Barclays, HSBC, Lloyds)
- Account Holder — The name on the bank account (usually your company name)
- Sort Code — Your bank's sort code (UK format: 12-34-56)
- Account Number — Your bank account number (UK format: 8 digits)
- IBAN — International Bank Account Number (optional, used for international payments)
- SWIFT/BIC — SWIFT or BIC code for international wire transfers (optional)
- Payment Reference Note — A note printed on invoices instructing clients what reference to use when making payment (e.g., "Please use the invoice number as your payment reference")
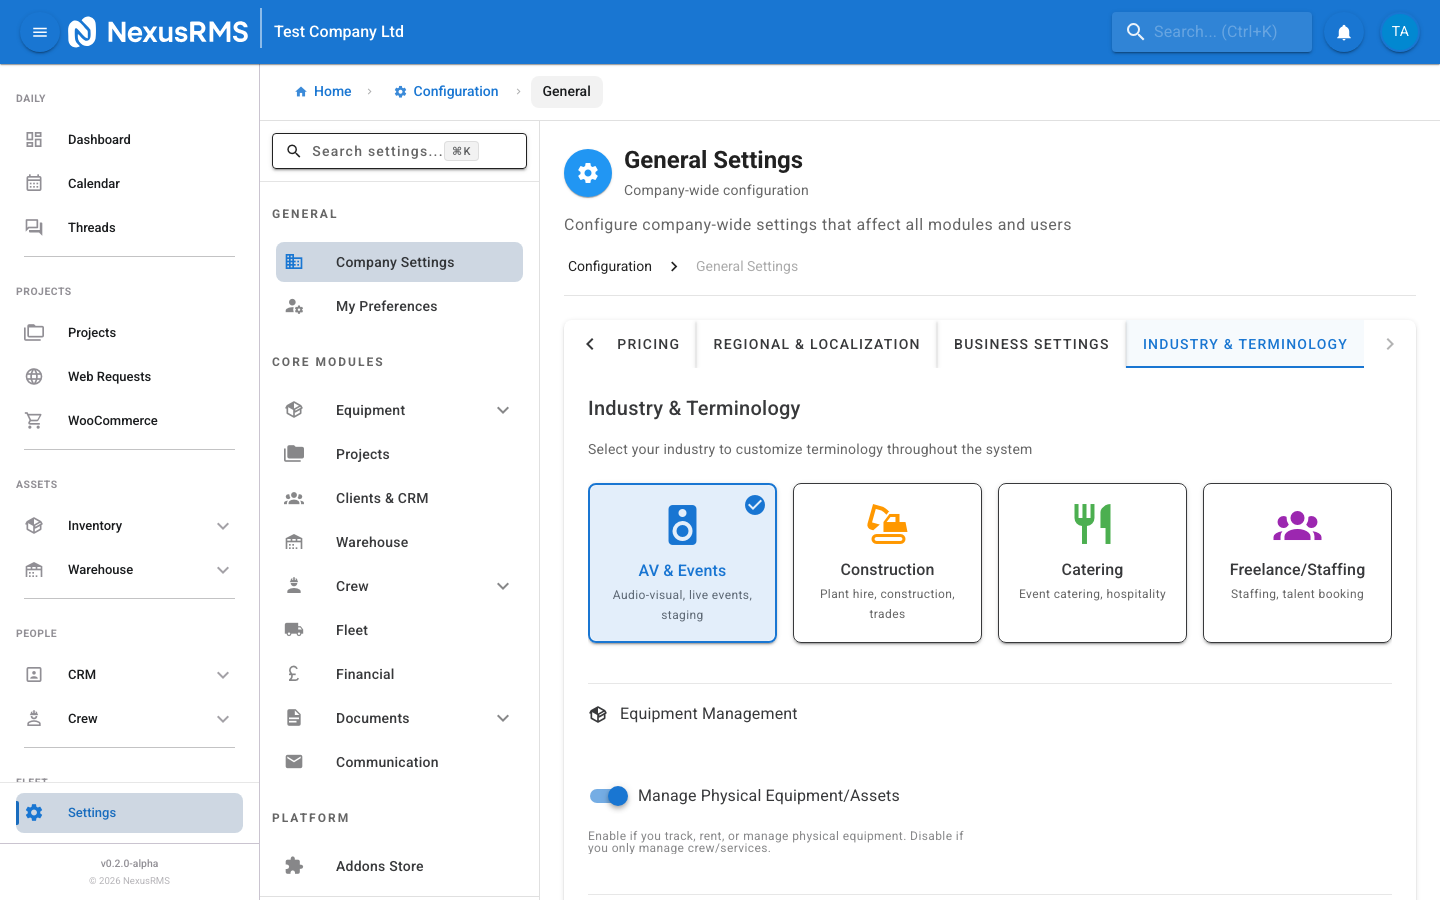
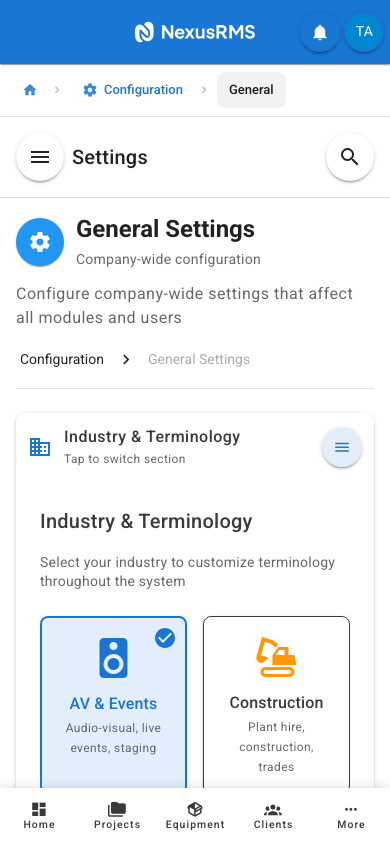
Industry & Terminology tab
The Industry & Terminology tab lets you customise the language used throughout NexusRMS to match your sector. Different industries use different words for the same concepts, and this tab ensures the system speaks your language.
Industry Selection
Industry Selection presents a set of cards representing supported industries. Select the card that best matches your business:
- AV & Events — Uses terms like "Gig", "Venue", "Load-In", "Load-Out". Best for audio-visual, event production, and live entertainment companies.
- Construction — Uses terms like "Job", "Site", "Delivery", "Collection". Best for construction equipment rental and tool hire businesses.
- Catering — Uses terms like "Event", "Venue", "Setup", "Breakdown". Best for catering equipment and event catering companies.
- Freelance/Staffing — Uses terms like "Booking", "Location", "Start", "End". Best for staffing agencies and freelancer management.
Selecting an industry automatically updates all terminology throughout the system. You can fine-tune individual terms after selection.
Manage Physical Equipment
Manage Physical Equipment is a toggle that controls whether your workspace includes physical equipment management features. When enabled (default), you have full access to equipment inventory, serial tracking, QR codes, warehouse management, and related modules. When disabled, equipment-related modules are hidden, which is useful for staffing-only or service-only businesses. Default: On.
Terminology Preview
Terminology Preview displays a table showing how key system terms are translated based on your industry selection. The table has two columns: the system concept (e.g., "Project", "Venue", "Dispatch", "Return") and the term displayed in your workspace. Review this table to confirm the terminology feels natural for your business.
Re-run Setup Wizard
The Re-run Setup Wizard button launches the initial configuration wizard that ran when your account was first created. Use this if you want to reconfigure your workspace from scratch or if you have significantly changed your business focus (e.g., switching from AV to Construction). Running the wizard does not delete any existing data — it only updates settings and terminology.
Tips and best practices
- Complete Company Information first — Your company name, logo, and address appear on every document. Set these before creating any quotes or invoices.
- Double-check your VAT number — An incorrect VAT number on invoices can cause compliance issues. Verify it against your HMRC registration.
- Set currency before adding equipment — Changing the currency format after you have added equipment prices does not convert values. It only changes how they are displayed.
- Choose your industry early — Terminology affects every page in the system. Switching industries later can be confusing for team members who have learned one set of terms.
- Enter bank details for faster payments — Invoices with complete bank details get paid faster because clients do not need to ask for payment information separately.
- Use the Format Preview — Before saving currency settings, check the preview to make sure values look correct for your region.
Next steps
Continue to the next article to learn about Equipment Settings, where you will configure serial number generation, AI suggestions, stock alerts, and depreciation rules.
Was this article helpful?