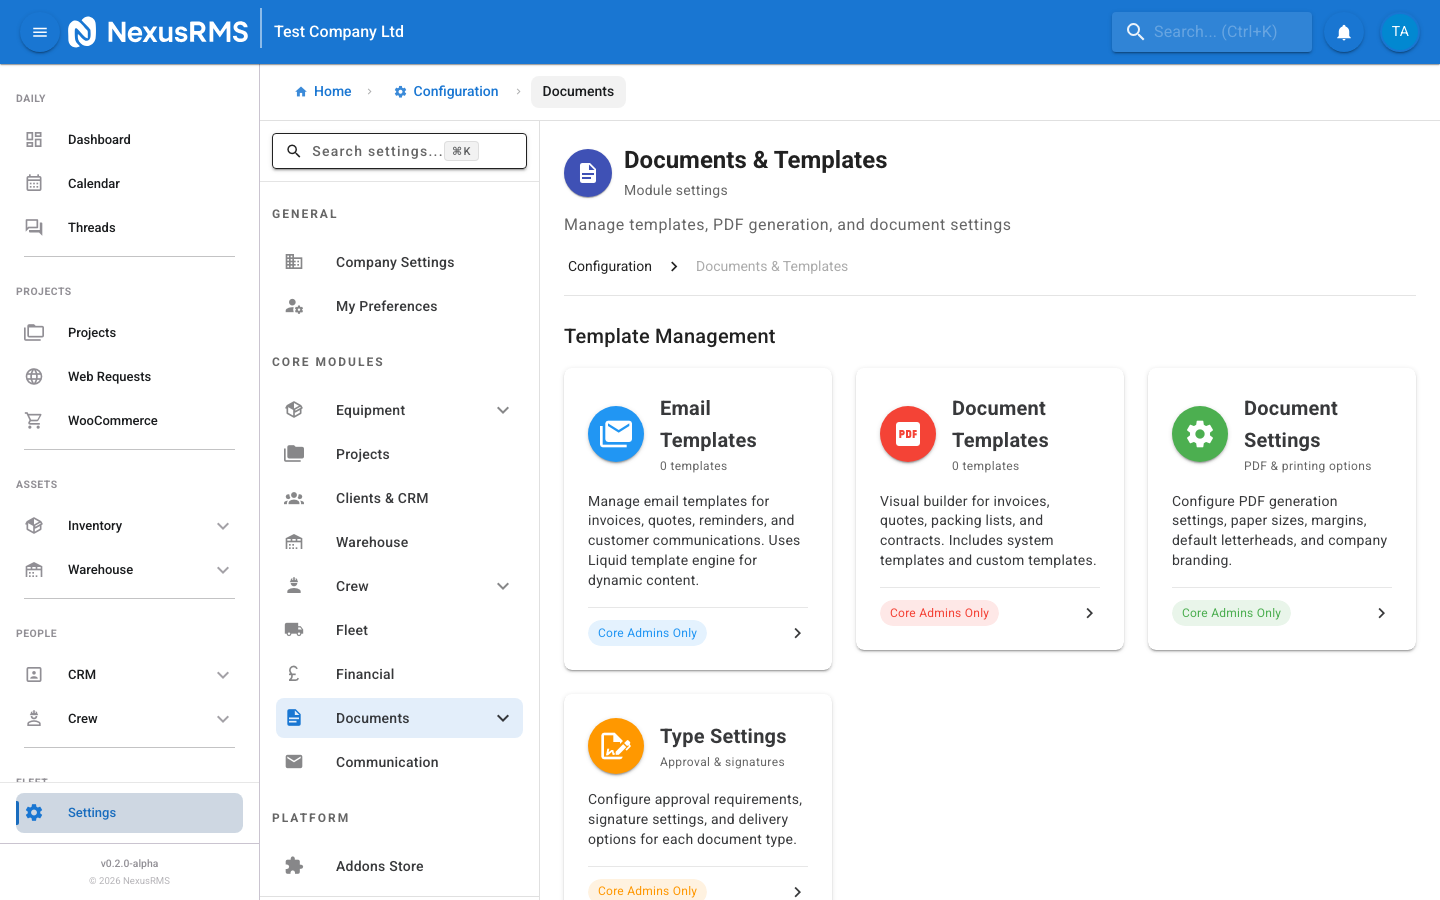
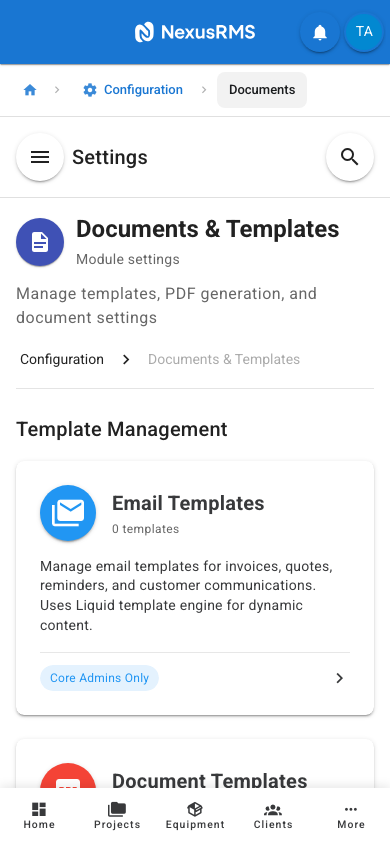
Documents & Templates
The Documents & Templates settings page is a hub that links to five dedicated management areas: Email Templates, Document Templates, Contract Templates, Label Templates, and Letterhead Management. Unlike other settings pages, this page does not contain inline configuration fields. Instead, each section is presented as a card that opens its own full management page.
Navigate to Configuration > Documents to access this page. All sections on this page require the CoreAdmin role.
Email Templates
The Email Templates card opens a dedicated page for managing all outbound email templates used by NexusRMS. Click the card to access the email template editor.
What you can configure
NexusRMS uses the Liquid template engine for dynamic email content. Each template supports variables that are automatically replaced with real data when the email is sent (e.g., {{ client.name }}, {{ quote.total }}, {{ project.name }}).
The following email template categories are available:
- Invoice emails — Sent when invoices are issued, paid, or overdue. Includes invoice PDF attachment.
- Quote emails — Sent when quotes are submitted for client approval. Includes quote PDF attachment and approval/decline links.
- Reminder emails — Automated payment reminders, overdue notices, and follow-up sequences.
- Project emails — Project confirmations, schedule changes, and crew notifications.
- Customer communication — General correspondence templates for client-facing messages.
- System emails — User invitations, password resets, and account notifications. These have limited customisation to maintain security.
Each template includes a subject line, body content (HTML with Liquid variables), and optional attachments. A live preview pane shows how the email will appear with sample data.
Access: CoreAdmin only. CoreManagers and sub-users cannot edit email templates.
Document Templates
The Document Templates card opens the visual PDF template builder. This is where you design the layout and content of all PDF documents generated by NexusRMS.
System templates
NexusRMS ships with system templates for all standard document types. These are professionally designed and ready to use out of the box:
- Quote template — Client-facing quotation with equipment list, pricing, terms, and approval section
- Invoice template — Tax-compliant invoice with line items, VAT breakdown, payment details, and bank information
- Packing list template — Warehouse document listing all equipment for a project with check-off boxes
- Delivery note template — Transport document for driver sign-off at delivery and collection
- Contract template — Terms and conditions document attached to quotes and projects
- Credit note template — Document for refunds and credit adjustments
- Purchase order template — Internal document for equipment procurement
Custom templates
You can duplicate any system template and customise it, or create a new template from scratch using the visual builder. The builder supports:
- Drag-and-drop sections — Header, line items, totals, terms, footer, and custom content blocks
- Company branding — Logo placement, brand colours, fonts, and spacing
- Dynamic fields — Liquid variables for client data, project details, financial totals, and custom fields
- Conditional sections — Show or hide sections based on data (e.g., hide VAT section for VAT-exempt clients)
- Multiple page sizes — A4, US Letter, and custom dimensions
Access: CoreAdmin only.
Contract Templates
The Contract Templates card opens the contract template management page. Contracts define the terms and conditions that are attached to projects and quotes.
What you can configure
- Contract name — A descriptive name for internal identification (e.g., "Standard Hire Terms", "Dry Hire Agreement", "Festival Terms")
- Contract body — Rich text content with the full terms and conditions. Supports headings, lists, bold, italic, and links.
- Default contract — Mark one contract as the default. This contract is automatically attached to new quotes unless overridden.
- Active/inactive status — Inactive contracts are hidden from quote and project creation but preserved for historical records.
- Client signature requirement — Toggle whether the client must digitally sign this contract before the quote is accepted.
- Version history — NexusRMS tracks changes to contract templates. Previous versions are preserved so you can see which version was attached to historical projects.
When creating a quote, the user can select which contract template to attach. The contract is rendered as part of the quote PDF and, if digital signatures are enabled, presented to the client for signing via the Client Node.
Label Templates
The Label Templates card opens the label template builder. Labels are printed and attached to physical equipment for identification, tracking, and QR/barcode scanning.
What you can configure
- Label format/size — Select from standard label sizes or define custom dimensions. Common sizes include 89mm x 36mm (Dymo standard), 62mm x 29mm (Brother standard), and 50mm x 25mm (Zebra standard).
- Label content — Choose which fields appear on the label: equipment name, serial number, category, QR code, barcode, company logo, and custom text.
- QR code configuration — QR codes can encode the equipment's NexusRMS URL, serial number, or a custom value. QR size and position are adjustable.
- Barcode format — Supported formats include Code 128, Code 39, and EAN-13. Select the format compatible with your barcode scanners.
- Printer compatibility — NexusRMS supports direct printing to Dymo LabelWriter, Brother QL series, and Zebra ZD/ZT series label printers. Alternatively, labels can be exported as PDF for printing on standard label sheets (e.g., Avery).
- Bulk printing — Configure batch print settings for printing labels for multiple items at once from the equipment list or warehouse packing view.
Letterhead Management
The Letterhead Management section allows you to create and manage company letterhead designs that are applied across all PDF documents generated by NexusRMS.
What you can configure
- Company logo — Upload your logo and set its position (top-left, top-centre, top-right) and size on the letterhead.
- Header content — Company name, address, phone number, email, website, and registration numbers (VAT, company registration).
- Footer content — Footer text, legal disclaimers, bank details, and regulatory information.
- Brand colours — Header background colour, accent lines, and text colours. These should match your company's visual identity.
- Multiple letterheads — Create different letterheads for different purposes (e.g., one for quotes and invoices, another for internal documents).
- Default letterhead — Mark one letterhead as default. It is automatically applied to all new documents unless overridden at the template level.
Tips and best practices
Where to start
- Begin with Document Templates — Your quotes and invoices are the first documents clients see. Customise the quote and invoice templates with your branding before sending anything to clients.
- Set up your letterhead next — Upload your logo, add your company details, and configure the footer with your bank details and VAT number. The letterhead is shared across all document templates.
- Then configure Email Templates — Customise the quote and invoice email templates so the email content matches your document branding and tone of voice.
- Contract templates can wait — The default contract template is functional out of the box. Have your legal team review and customise it when ready, but it should not block you from sending quotes.
- Label templates last — Labels are only needed once you start labelling physical equipment. This can happen after your initial setup.
General advice
- Preview before publishing — Always use the preview function to check how documents and emails look with real data before making templates active.
- Keep backups — Before making major changes to a template, duplicate it first. You can always revert to the copy if the changes do not work out.
- Use Liquid variables — Avoid hard-coding values like company name or currency in templates. Use Liquid variables so the content updates automatically if your settings change.
- Test email templates — Send test emails to yourself before activating updated templates. Check rendering on both desktop and mobile email clients.
- Check printer compatibility — Before ordering labels, print a test sheet to ensure alignment is correct with your specific printer model.
Next steps
Continue to the next article to learn about Integrations settings, where you will connect NexusRMS to accounting platforms, WordPress, calendars, and manage API access.
Was this article helpful?