Client Settings
Client Settings control how NexusRMS manages your client records, enforces credit policies, and configures the Client Portal. Proper configuration here ensures your client data is consistent, your financial exposure is controlled, and your clients have a smooth self-service experience.
Client Management tab
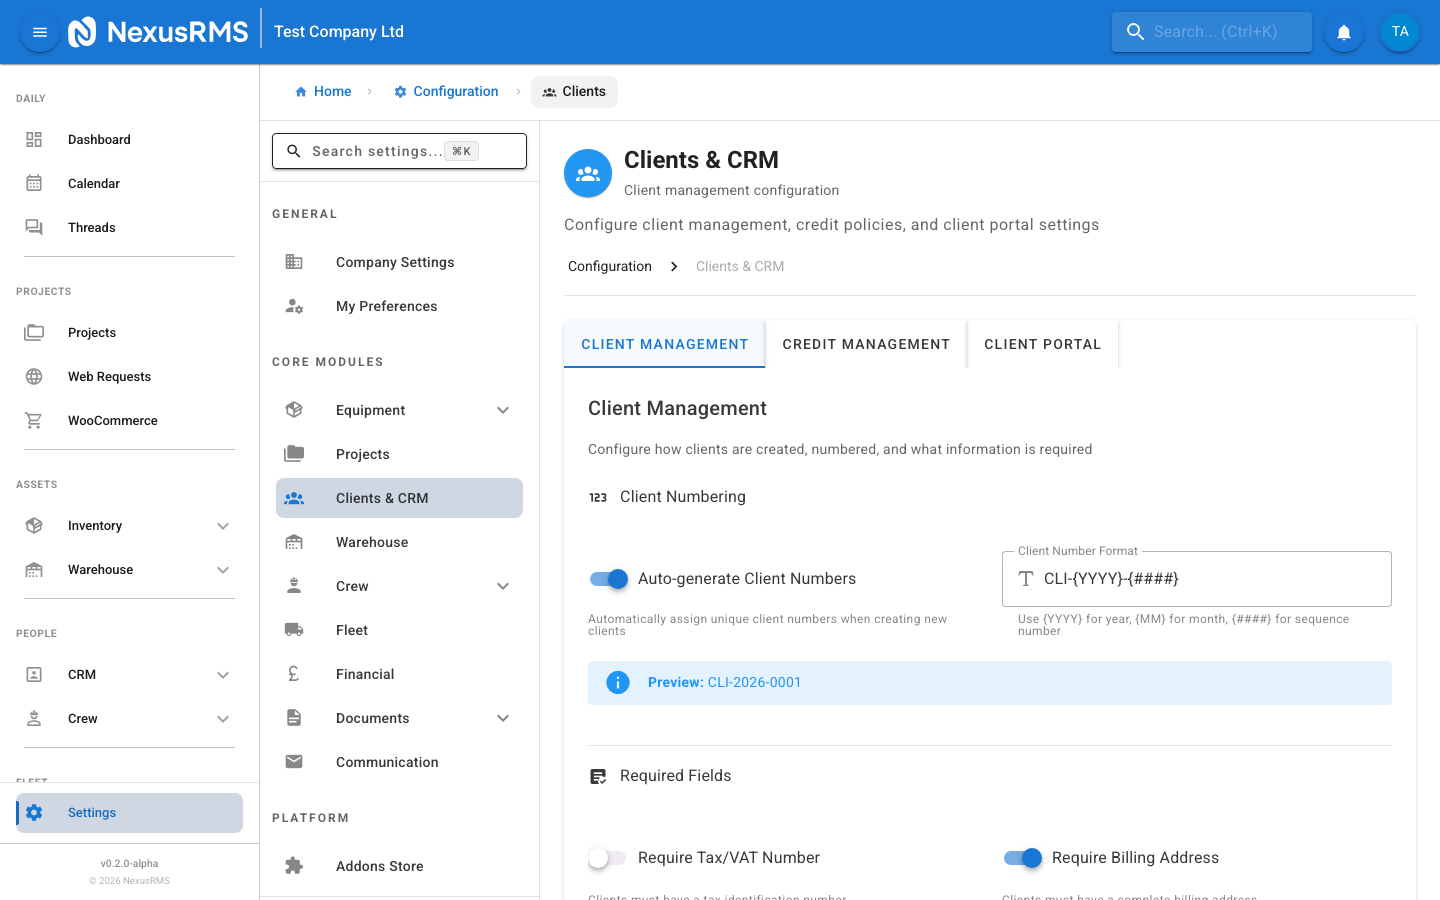
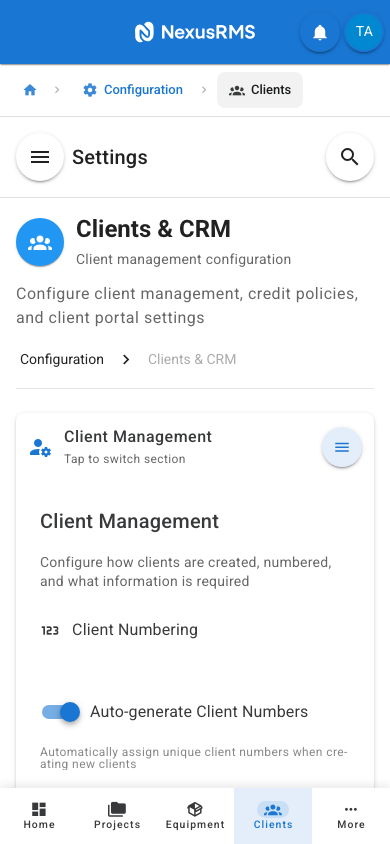
The Client Management tab configures client numbering, required fields, and contact management.
Auto-generate Client Numbers
Auto-generate Client Numbers is a toggle that, when enabled, automatically assigns a unique reference number to each new client when they are created. When disabled, you can optionally enter client numbers manually. Default: On.
Client Number Format
Client Number Format defines the pattern used to generate client reference numbers. You can use the following placeholders:
- {YYYY} — Replaced with the four-digit year (e.g., 2026)
- {MM} — Replaced with the two-digit month (e.g., 02)
- {####} — Replaced with a zero-padded auto-incrementing number (the number of hash symbols determines the padding, e.g., {####} produces 0001, {######} produces 000001)
Example: A format of CLT-{YYYY}-{####} produces numbers like CLT-2026-0001, CLT-2026-0002, and so on. Default: CLT-{YYYY}-{####}. This field is only active when Auto-generate Client Numbers is enabled.
Client Number Preview
Client Number Preview is a read-only field that shows a sample client number based on your current format settings. This updates in real time as you modify the format. Use it to verify your format produces the expected output before saving.
Require Tax/VAT Number
Require Tax/VAT Number is a toggle that, when enabled, makes the tax or VAT number field mandatory when creating or editing a client record. This is useful if your business requires client VAT numbers for reverse-charge invoicing or tax compliance. When disabled, the field is available but optional. Default: Off.
Require Billing Address
Require Billing Address is a toggle that, when enabled, makes the billing address fields mandatory when creating or editing a client record. This ensures every client has a valid billing address for invoices and statements. When disabled, billing address fields are available but optional. Default: Off.
Allow Multiple Contacts
Allow Multiple Contacts is a toggle that, when enabled, allows you to add unlimited contacts to a single client record. Each contact can have a name, email, phone number, job title, and role designation (e.g., Primary Contact, Billing Contact, Site Contact, Technical Contact). When disabled, each client record has only a single contact. Default: On.
When multiple contacts are enabled, you can designate one contact as the Primary Contact who receives all automated communications by default. Other contacts can be added as recipients on specific quotes, invoices, or project communications.
Credit Management tab
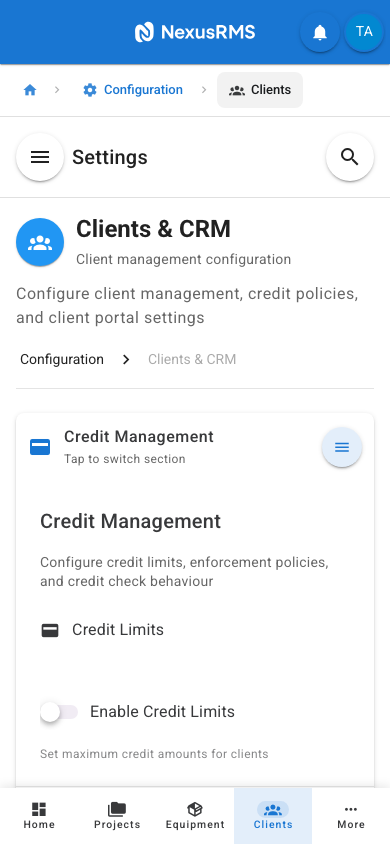
The Credit Management tab configures credit limit policies to control your financial exposure to individual clients. This is essential for managing cash flow and reducing the risk of unpaid invoices.
Enable Credit Limits
Enable Credit Limits is the master toggle for the credit management system. When enabled, you can assign credit limits to individual clients and the system monitors outstanding balances against those limits. When disabled, no credit limit checks are performed anywhere in the system. Default: Off.
Default Credit Limit
Default Credit Limit sets the credit limit automatically assigned to new clients. The value is entered in pence (or the smallest unit of your default currency). For example, enter 500000 for a £5,000.00 credit limit. This can be overridden on individual client records. Set to 0 for no default limit. Default: 0. This field is only active when Enable Credit Limits is toggled on.
Enforcement Mode
Enforcement Mode controls what happens when a client's outstanding balance exceeds their credit limit. Options:
- No Enforcement — The system tracks credit limits and shows warnings on the client record, but does not prevent any actions. Use this during initial setup while you establish appropriate limits for each client.
- Warning — The system displays a prominent warning banner when creating quotes or bookings for a client who has exceeded their credit limit, but still allows the action to proceed. The warning is visible to CoreAdmins and CoreManagers.
- Block — The system prevents new quotes and bookings from being created for a client who has exceeded their credit limit. Only a CoreAdmin can override the block on a per-transaction basis.
Default: No Enforcement.
Credit Check on Quotes
Credit Check on Quotes is a toggle that, when enabled, runs a credit limit check when a quote is created or sent for a client. If the quote value would push the client over their credit limit, the enforcement mode action (warning or block) is triggered. Default: Off. This toggle is only active when Enable Credit Limits is toggled on.
Credit Check on Bookings
Credit Check on Bookings is a toggle that, when enabled, runs a credit limit check when a project is moved to Confirmed status. If the booking value would push the client over their credit limit, the enforcement mode action (warning or block) is triggered. Default: Off. This toggle is only active when Enable Credit Limits is toggled on.

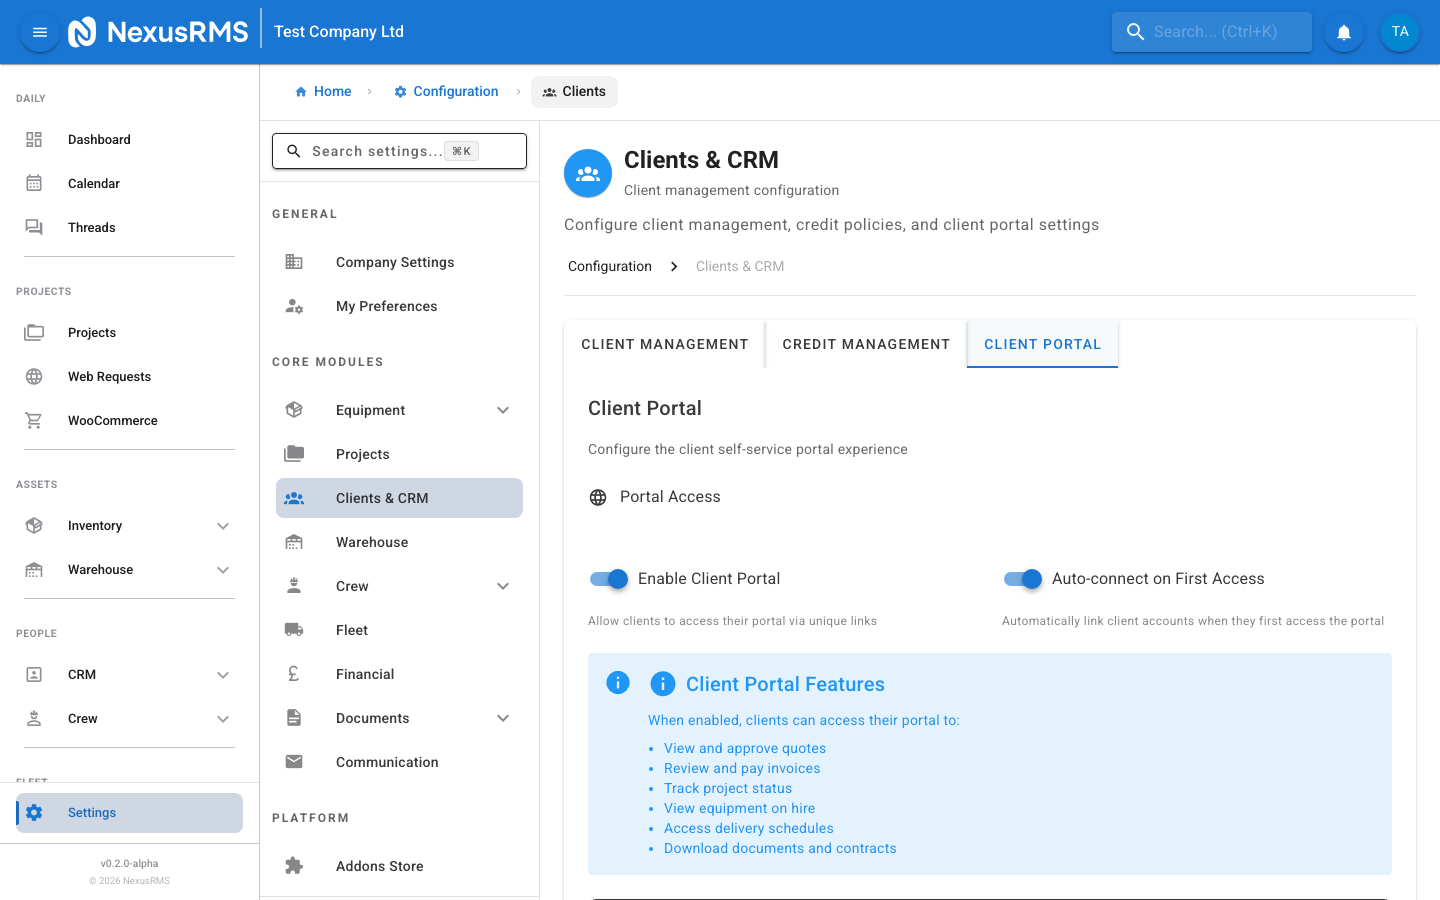
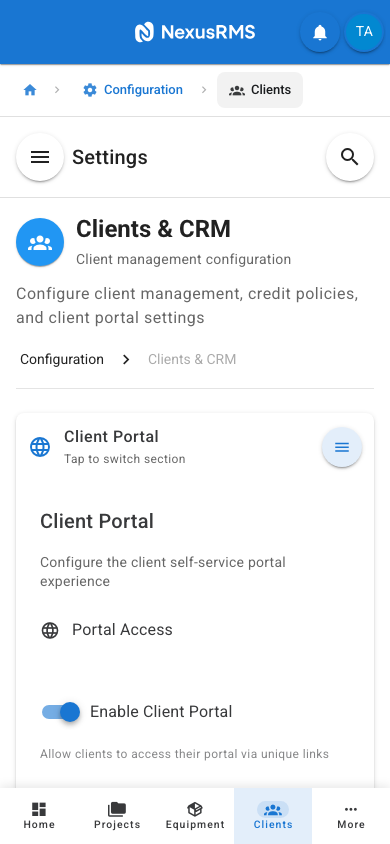
Client Portal tab
The Client Portal tab configures the self-service portal that your clients access through Nexus Client Nodes. The portal allows clients to view quotes, approve bookings, pay invoices, track project progress, and download documents without needing to contact your team directly.
Enable Client Portal
Enable Client Portal is the master toggle for the Client Portal feature. When enabled, clients with a Client Node can access your company's portal. When disabled, the portal is completely inaccessible — clients who attempt to visit will see a "Portal not available" message. Default: On.
Auto-connect on First Access
Auto-connect on First Access is a toggle that controls whether a client's Node account is automatically linked to your company the first time they access the portal. When enabled, no approval step is needed — the client is connected immediately. When disabled, the client's connection request must be manually approved by a CoreAdmin before they can access the portal. Default: On.
Portal features
When the Client Portal is enabled, connected clients have access to the following features:
- View and approve quotes — Clients can review quotes you send them, see a full breakdown of equipment, services, and costs, and approve or request changes directly from the portal
- Review and pay invoices — Clients can view all their invoices, see payment status, and pay online via Stripe (if online payments are enabled in Financial Settings)
- Track project progress — Clients can see the current status of their active projects, including preparation, dispatch, and return stages
- View equipment lists — Clients can see which equipment is allocated to their projects, including quantities and descriptions (financial details are only shown if your field-level permissions allow it)
- Delivery schedules — Clients can see planned delivery and collection dates and times for their projects
- Download documents — Clients can download PDF copies of quotes, invoices, contracts, delivery notes, and any other documents you attach to their projects
Portal link format
Each client accesses the portal through their Client Node URL. The format is:
nodes.nexusrms.io/clients/12345678
The 8-digit identifier is unique to each client and is generated when their Client Node is created. You can find a client's portal link on their client detail page in NexusRMS. Share this link with your client so they can access the portal directly.
Tips and best practices
- Enable auto-generate client numbers — Manual numbering leads to gaps, duplicates, and inconsistencies. Let the system handle it with a format that includes the year for easy identification.
- Require billing addresses for B2B clients — If your clients are primarily businesses, require billing addresses to ensure invoices always have a valid recipient address. This is especially important for accounting and tax compliance.
- Start with "No Enforcement" for credit limits — Enable credit limits and set a reasonable default, but start with no enforcement. Monitor your clients' outstanding balances for a few weeks, then switch to Warning or Block mode once you are confident the limits are appropriate.
- Set credit limits based on client history — New clients should start with a lower credit limit (e.g., £1,000). Increase it over time as they demonstrate reliable payment behaviour. Long-standing clients with a perfect payment record can have higher limits.
- Enable the Client Portal from day one — The portal reduces your team's administrative workload by letting clients self-serve for common tasks like viewing quotes, approving bookings, and paying invoices. It also gives your business a professional, modern image.
- Use multiple contacts for corporate clients — Large corporate clients often have separate contacts for booking, billing, and on-site technical coordination. Enable multiple contacts and assign appropriate roles to each contact so the right person receives the right communications.
- Review the Client Node link before sharing — Always test the portal link yourself before sending it to a client. Verify that the portal is enabled, the client's data looks correct, and the experience is what you expect.
Next steps
You have now configured the core settings areas for NexusRMS: General, Equipment, Projects, Financial, and Clients. Explore the remaining settings categories (Warehouse, Crew, Communication, Repairs, Analytics, Dashboard, Fleet, Documents, Integrations, and PAT Testing) to complete your workspace configuration.
Was this article helpful?