Serial Numbers & Tracking
NexusRMS offers two tracking methods for equipment: bulk tracking for high-volume, low-value items and serialized tracking for individually managed, high-value assets. This article explains both methods in detail, covers serial number generation, QR codes, RFID integration, and how to manage individual serialized units from the Equipment Detail page.
Bulk tracking
Bulk tracking manages equipment by quantity rather than by individual unit. It is designed for items where tracking every single piece is impractical or unnecessary.
- How it works — You enter a total quantity (e.g., 200 XLR cables) and the system tracks three counts: available (in stock and ready for hire), allocated (reserved for upcoming projects), and out (currently on hire).
- Best used for — Cables, clamps, connectors, gaffer tape, safety pins, rigging hardware, and other consumables or low-value items.
- Limitations — You cannot track the history, condition, or location of individual units. There are no serial numbers, no per-unit maintenance records, and no individual lifecycle tracking.
- Stock adjustments — When bulk items are lost, damaged, or consumed, you adjust the total quantity manually. The system logs the adjustment with a reason and the user who made the change.
Bulk tracking keeps your inventory manageable by avoiding the overhead of serializing hundreds or thousands of low-value items.
Serialized tracking
Serialized tracking assigns a unique serial number to each physical unit. Every unit has its own independent record with a full lifecycle history.
- How it works — When you set the tracking method to Serialized and specify a quantity (e.g., 12 QSC K12.2 speakers), the system creates 12 individual serial number entries. Each entry tracks its own location, condition, status, maintenance history, project history, and notes.
- Best used for — High-value items such as speakers, amplifiers, cameras, lenses, lighting fixtures, mixing desks, and any equipment where individual accountability matters.
- Benefits — Full audit trail per unit, individual condition tracking (one unit can be "Excellent" while another is "Fair"), per-unit maintenance scheduling, and precise location tracking across warehouses and projects.
Serial number auto-generation
When Auto-Generate Serial Numbers is enabled in Configuration > Equipment Settings > Defaults & Automation, the system automatically assigns serial numbers to new serialized items. The format is determined by two settings:
- Prefix — A text string prepended to each number (default: NX-). You can use letters, numbers, and hyphens.
- Length — The number of digits in the numeric portion (default: 6). Numbers are zero-padded.
With the default settings, serial numbers are generated as: NX-000001, NX-000002, NX-000003, and so on. The sequence is global across all equipment, so numbers are never duplicated.
Manual serial number entry
If you disable auto-generation or need to enter existing serial numbers from your current system, you can type serial numbers manually when creating or editing equipment. Each serial number must be unique across your entire inventory. The system validates uniqueness in real time and highlights duplicates immediately.
QR code generation
Every serialized equipment item can have a unique QR code generated automatically. QR codes are used for fast identification during warehouse operations:
- Check-in and check-out — Scan a QR code to instantly record an item as dispatched or returned
- Stocktakes — Use the Scanner page to scan items during physical inventory counts
- Quick lookup — Scan any QR code to jump directly to that item's detail page
QR codes are auto-generated when the Auto-Generate QR Codes toggle is enabled in Equipment Settings. They can be printed as adhesive labels for physical attachment to equipment. The print dialog supports single labels, label sheets, and custom label sizes.
Barcode format options
Each equipment item can be assigned one of the following identification formats:
- QR Code — Two-dimensional code that can be scanned with any smartphone camera. Recommended for most use cases due to ease of use and high data capacity.
- Barcode — Traditional one-dimensional barcode. Useful if you already have barcode scanners integrated into your warehouse workflow.
- RFID — Radio Frequency Identification tag. Supports bulk scanning of multiple items simultaneously using an RFID reader. Ideal for large inventories where scanning items one by one is too slow.
- None — No automatic identification code is generated. Items are tracked manually by serial number only.
RFID integration
For businesses with large inventories, RFID enables bulk scanning without line-of-sight. NexusRMS supports UHF RFID readers that connect via USB or Bluetooth. When you scan a group of items, the system matches each RFID tag to its equipment record and updates status, location, or check-in/check-out state in bulk. RFID setup is configured in Configuration > Warehouse Settings > Scanner Configuration.
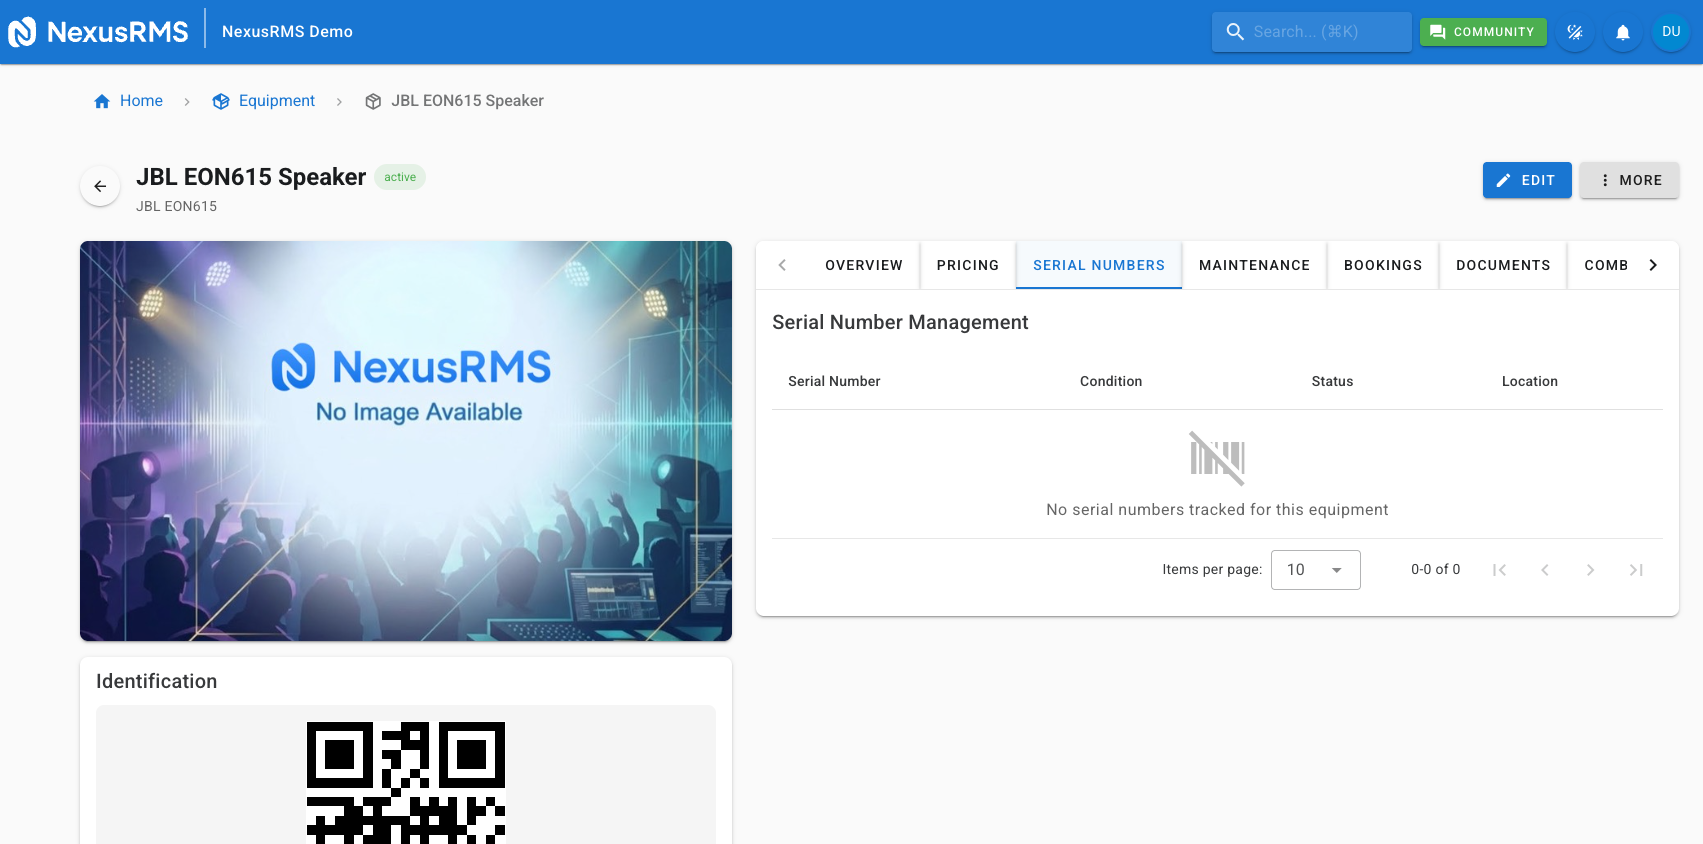
Serial Numbers tab on the detail page
The Serial Numbers tab on the Equipment Detail page lists every serialized unit belonging to this equipment item. Each row in the table displays:
- Serial Number — The unique identifier (e.g., NX-000042)
- Condition — Colour-coded badge showing the unit's physical condition
- Status — Current operational status (Available, Rented, In Maintenance, Damaged, Lost)
- Location — Where the unit is currently located (warehouse, project site, vehicle, or client)
- Last Checked — Date and time of the most recent scan or manual status update
- Actions — Buttons to view the unit's full history, edit its condition or status, or print its QR label
Managing individual serial units
Click any serial number in the list to open its individual detail panel. From here you can:
- Update condition — Change the condition from the dropdown (New, Excellent, Good, Fair, Poor, Damaged). Condition changes are logged in the unit's history.
- Change status — Move the unit between Available, In Maintenance, Damaged, Lost, or Retired. Status changes trigger appropriate system actions (e.g., marking as In Maintenance opens a repair creation dialog).
- View maintenance history — See all past repair records, PAT test results, and service notes specific to this unit.
- View project history — See every project this unit has been assigned to, with dates, client names, and any notes.
- Add notes — Attach free-text notes to the unit for any relevant information (e.g., "Dent on left side, cosmetic only").
- Transfer location — Move the unit to a different warehouse, vehicle, or storage position.
Tips
- Use serialized tracking for items worth over £500 — The per-unit audit trail, maintenance scheduling, and loss tracking easily justify the extra overhead for high-value equipment.
- Print and attach QR labels immediately — The moment new equipment arrives, generate and attach QR labels. Unlabelled items cause delays during dispatch and stocktakes.
- Use RFID for inventories over 500 serialized items — Scanning items individually with QR codes works well for smaller inventories, but RFID bulk scanning saves significant time at scale.
- Review condition ratings after every return — Train your warehouse team to update the condition of each serialized unit during check-in. This keeps your data accurate and helps identify items that need repair before the next hire.
- Keep serial number prefixes short — Long prefixes make labels harder to read and manual entry more error-prone. Two to four characters (e.g., "NX-") is ideal.
Next steps
You now have a solid understanding of equipment tracking in NexusRMS. Explore the Equipment Categories article to learn how to organise your inventory into a logical hierarchy, or visit the Combinations & Kits article to learn how to bundle frequently rented items together.
Was this article helpful?