Equipment Overview
The Equipment module is the heart of NexusRMS. It gives you complete control over your rental inventory — from tracking individual serial-numbered items to monitoring availability across warehouses, setting pricing strategies, maintaining repair histories, and building reusable kits. Whether you manage ten items or ten thousand, every piece of gear is accounted for.
Accessing the Equipment module
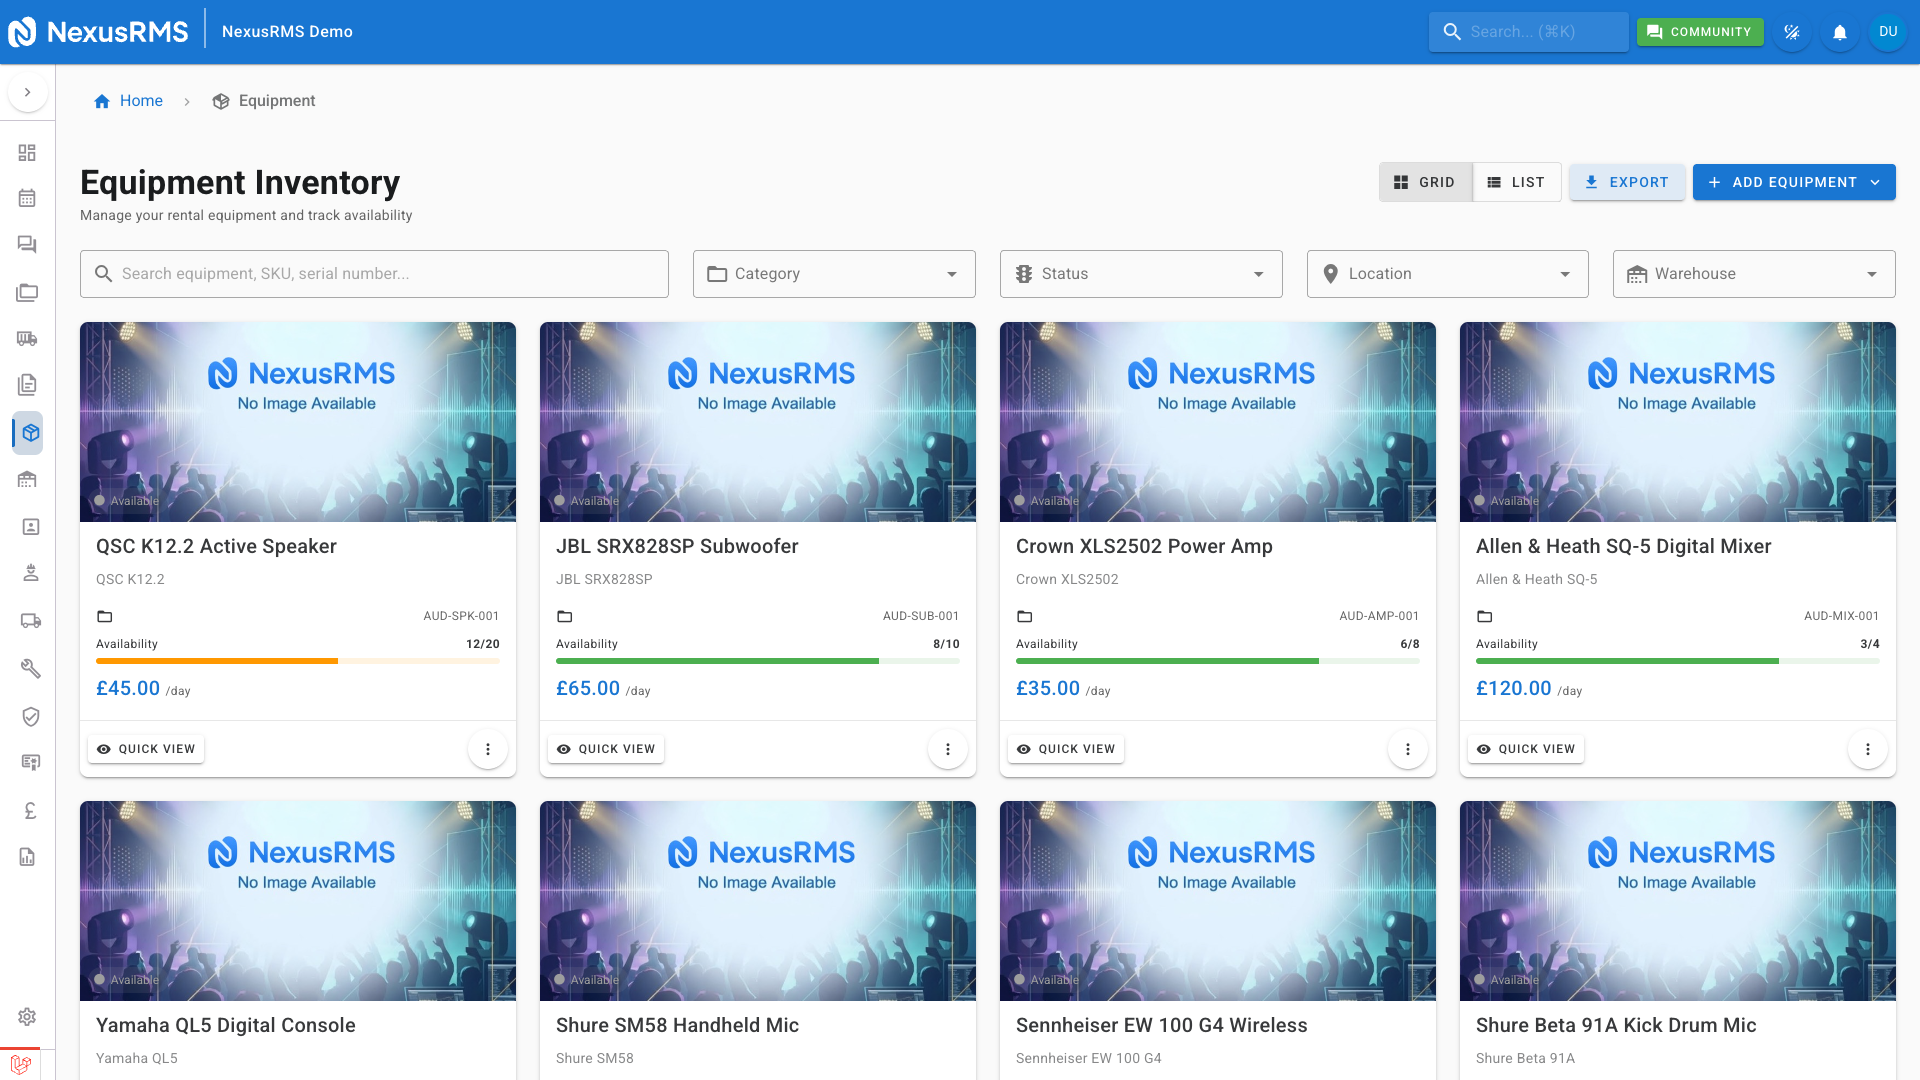
To open the Equipment module, click Equipment in the left-hand sidebar. The menu expands to reveal the following pages:
- Equipment List — Your full inventory in grid or list view with search, filters, and bulk operations
- Categories — Hierarchical category tree for organising equipment into logical groups
- Combinations / Kits — Pre-built bundles of equipment that are frequently rented together
- Scanner — QR code and barcode scanner for quick check-in, check-out, and stocktake operations
- Sale Items — Equipment marked for sale rather than rental (ex-rental, end-of-life, surplus stock)
All users with equipment permissions can view the Equipment section. Creating, editing, and deleting equipment requires the appropriate role permissions configured under Configuration > Users & Roles.
What you can do with the Equipment module
The Equipment module covers the full lifecycle of your rental inventory:
- Manage rental inventory — Add, edit, and retire equipment items with detailed specifications, images, and documentation
- Track individual items with serial numbers — Assign unique serial numbers to high-value items and follow each unit through its entire lifecycle
- Monitor availability — See real-time availability across all warehouses and projects, with colour-coded indicators
- Set pricing — Configure hourly, daily, weekly, and monthly rental rates with multi-day factor groups for competitive pricing
- Maintain repair history — Log repairs, schedule maintenance, and track the condition of every item over time
- Build kits and combinations — Group frequently rented items into reusable bundles that can be added to projects in one click
Equipment tracking types
Every equipment item in NexusRMS uses one of two tracking methods:
- Bulk tracking — Tracks quantities only. Best for low-value or high-volume items such as cables, clamps, gaffer tape, and consumables. You enter a total quantity and the system tracks how many are available, allocated, and out on hire.
- Serialized tracking — Tracks individual physical units. Each unit receives a unique serial number and has its own location, condition, maintenance history, and project history. Best for high-value items such as speakers, cameras, lighting fixtures, and mixing desks.
The default tracking method for new equipment is set in Configuration > Equipment Settings > Defaults & Automation. You can override it on a per-item basis when creating or editing equipment.
Tips for getting started
- Set up categories first — Before adding equipment, create a clear category structure (e.g., Audio > Speakers > Active Speakers). Categories make filtering, reporting, and pricing rules much easier to manage.
- Add your most-rented equipment first — Start with the items you hire out most frequently. This gets you operational quickly and lets you test your workflow before importing the full inventory.
- Configure pricing early — Set daily, weekly, and monthly rates as you add each item. Accurate pricing from day one means your quotes and invoices will be correct immediately.
- Build kits for common setups — If you regularly rent the same combination of items (e.g., a PA system with mixer, speakers, cables, and stands), create a combination kit. This saves time when building projects.
- Use serialized tracking for items worth over £500 — Individual tracking gives you full audit trails, maintenance scheduling, and loss prevention for your most valuable assets.
- Print QR labels immediately — After adding serialized equipment, print and attach QR labels straight away. This ensures every item is scannable from the moment it enters your inventory.
Next steps
Continue to the next article to learn about the Equipment List page, where you will browse your full inventory, search and filter items, switch between grid and list views, and perform bulk operations.
Was this article helpful?