Equipment Scanner
The Equipment Scanner is a mobile-first tool for quickly identifying, checking in, checking out, and counting your rental inventory using QR codes, barcodes, or RFID tags. It turns any device with a camera into a warehouse scanning station.
Accessing the Scanner
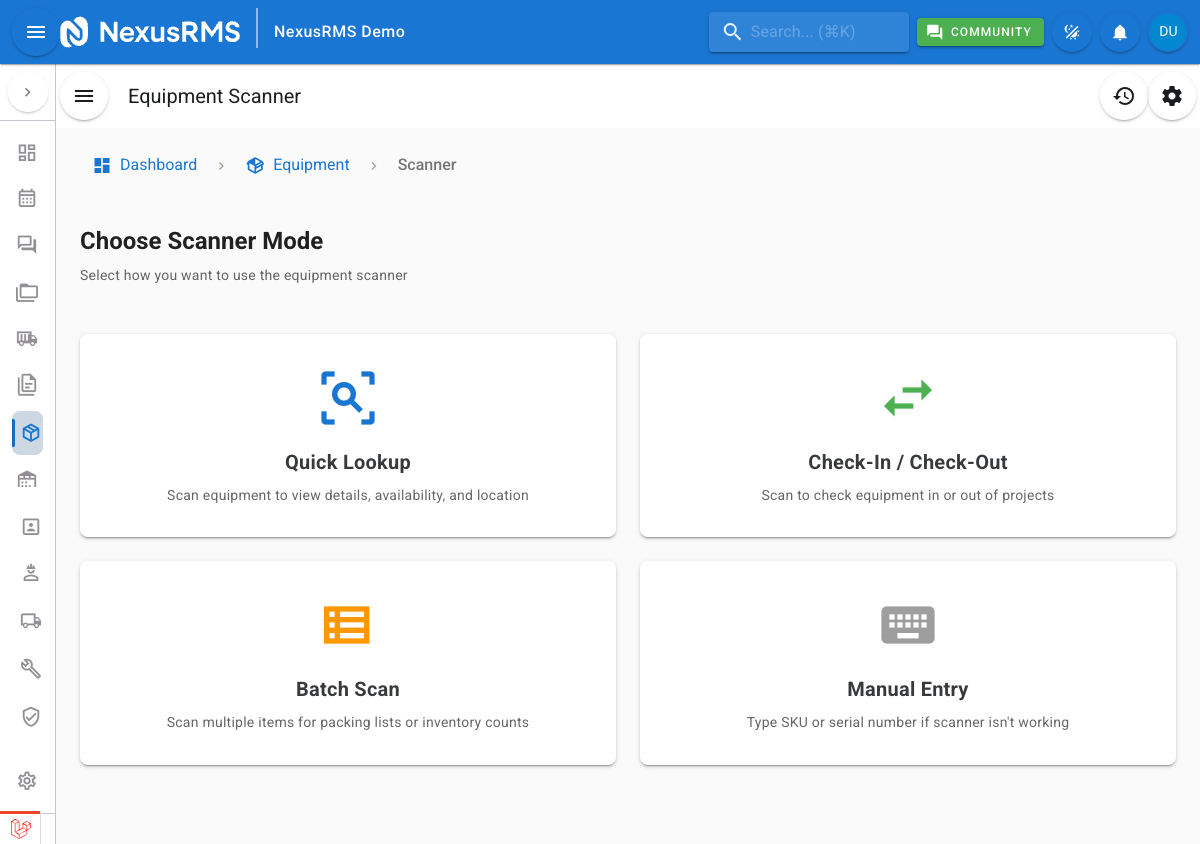
To open the Scanner, click Equipment in the left-hand sidebar and select Scanner. The scanner page opens in full-screen camera mode by default on mobile devices. On desktop, the page displays the camera viewfinder alongside scan results.
Scanning modes
The Scanner supports six modes, selectable from the mode dropdown at the top of the page. Each mode determines what happens after a successful scan.
Quick Lookup
Quick Lookup is the default mode. Scan any QR code or barcode to instantly view the equipment detail card without modifying any data. Use this when you need to identify an item, check its current status, or verify its location.
Check-In / Check-Out
Check-In / Check-Out mode updates the availability status of the scanned item. When checking out, you must select a project from the dropdown before scanning — the item is then allocated to that project. When checking in, the item is returned to its home warehouse location and marked as available. A confirmation dialog appears after each scan showing the status change.
Batch Scan
Batch Scan mode lets you scan multiple items in rapid succession to build a packing list. The scanner stays active after each scan, automatically adding items to a running list. Each item in the list shows quantity controls and an optional notes field. When you are finished, you can export the list as a packing slip or assign all items to a project at once.
Kit Operations
Kit Operations mode is used to seal or unseal kit contents. Scan a kit's QR code to view its component list, then scan each component to verify it is present. Once all components are confirmed, you can seal the kit — marking it as complete and ready for dispatch. To break a kit open, scan it and select Unseal to release individual items back into general inventory.
RFID Bulk Scan
RFID Bulk Scan mode processes multiple RFID tags simultaneously using a connected RFID reader. This mode is designed for high-volume warehouse operations where scanning items one by one is too slow. All detected tags are listed with their associated equipment details.
Manual Entry
Manual Entry provides a text input field where you can type a barcode number, serial number, or SKU directly. Use this as a fallback when a physical scan fails — for example, when a QR label is damaged, torn, or obscured. Manual entry works with all scanning modes listed above.
Using the scanner
The scanner interface centres on a full-screen camera viewfinder with a crosshair overlay that guides you to position the QR code or barcode within the target area. The following controls are available during scanning:
- Flash / torch toggle — Tap the flash icon to activate your device's torch for scanning in low-light warehouse environments
- Camera switch — Toggle between front and rear cameras on mobile devices
- Gallery upload — Tap the gallery icon to select an existing photo of a barcode or QR code from your device's photo library, useful when you have a photograph but not the physical item
On a successful scan, the device provides vibration feedback (a short pulse) and an audio beep. Both feedback types can be toggled off individually in the scanner settings panel.
Scan results
After a successful scan, an equipment info card appears below the viewfinder (or as a slide-up panel on mobile). The card displays:
- Equipment name and primary image
- Availability status — Colour-coded: Available (green), Allocated (blue), In Maintenance (orange), Damaged (red)
- Current location — Warehouse name and storage position
- Condition — New, Excellent, Good, Fair, Poor, or Damaged
- Serial number and SKU
- Last project — The most recent project this item was allocated to
From the result card, you can tap View Full Details to navigate to the equipment detail page, or Scan Next to continue scanning.
Scan history
The scanner maintains a timestamped log of all scans performed in the current session. Tap the History tab to view a scrollable list of scanned items with their scan time, mode used, and result. The history clears when you leave the scanner page. To retain a permanent record, use Batch Scan mode and export the list before navigating away.
Batch mode details
When Batch Scan mode is active, the scanner automatically continues scanning after each successful read — there is no need to tap a button between scans. Each scanned item appears in the batch list with:
- Quantity controls — Increment or decrement the count for bulk-tracked items
- Notes field — Add a note per item (e.g., "missing power cable" or "scratched case")
- Remove button — Remove an item from the batch if scanned in error
When you are finished, tap Complete Batch to review the full list and choose an action: export as PDF packing list, assign all items to a project, or check all items in or out.
Scanner settings
Tap the gear icon in the scanner toolbar to access scanner settings:
- Sound feedback — Toggle the audio beep on successful scan. Default: On.
- Vibration feedback — Toggle the haptic vibration pulse on successful scan. Default: On.
- Continuous scan mode — When enabled, the scanner does not pause after a successful scan and immediately looks for the next code. Useful for rapid stocktakes. Default: Off.
Tips
- Use Batch Scan for warehouse stock counts — Walk through the warehouse scanning every item. The batch list becomes your stocktake record.
- Enable flash in dim environments — Warehouse lighting can be inconsistent. The torch toggle ensures reliable scans even in poorly lit storage areas.
- Use Manual Entry as a fallback — If a QR label is torn, faded, or covered in dirt, type the serial number or barcode manually rather than re-printing the label on the spot.
- Keep the camera lens clean — A dusty or smudged camera lens is the most common cause of slow or failed scans.
- Grant camera permissions — The scanner requires camera access. If prompted, allow camera permissions in your browser settings. HTTPS is required for camera access.
Next steps
Continue to the next article to learn about Stock Management, where you will manage stock levels, track conditions, set reorder points, and record stock adjustments.
Was this article helpful?