Combinations & Kits
Combinations and Kits let you bundle multiple equipment items into a single rentable package. Whether it is a PA system in a flight case or a virtual lighting package, kits save time during project planning, ensure nothing is forgotten, and give you flexible pricing options.
What are Combinations/Kits
A combination (also called a kit) is a pre-configured group of equipment items that is rented as one unit. Instead of adding a mixer, two speakers, four cables, and two stands individually to a project, you add a single "PA System Kit" and all components are included automatically.
NexusRMS supports two kit types:
- Physical Case — Items that are physically stored together in a flight case, rack case, or transport case. The case itself is tracked as part of the kit and the items travel as a single unit. Ideal for items that are always deployed together and pre-wired or pre-configured.
- Virtual Kit — A logical grouping of items that are stored separately in the warehouse but rented as a package. Each item is picked individually during check-out. Ideal for common rental configurations that do not require permanent assembly.
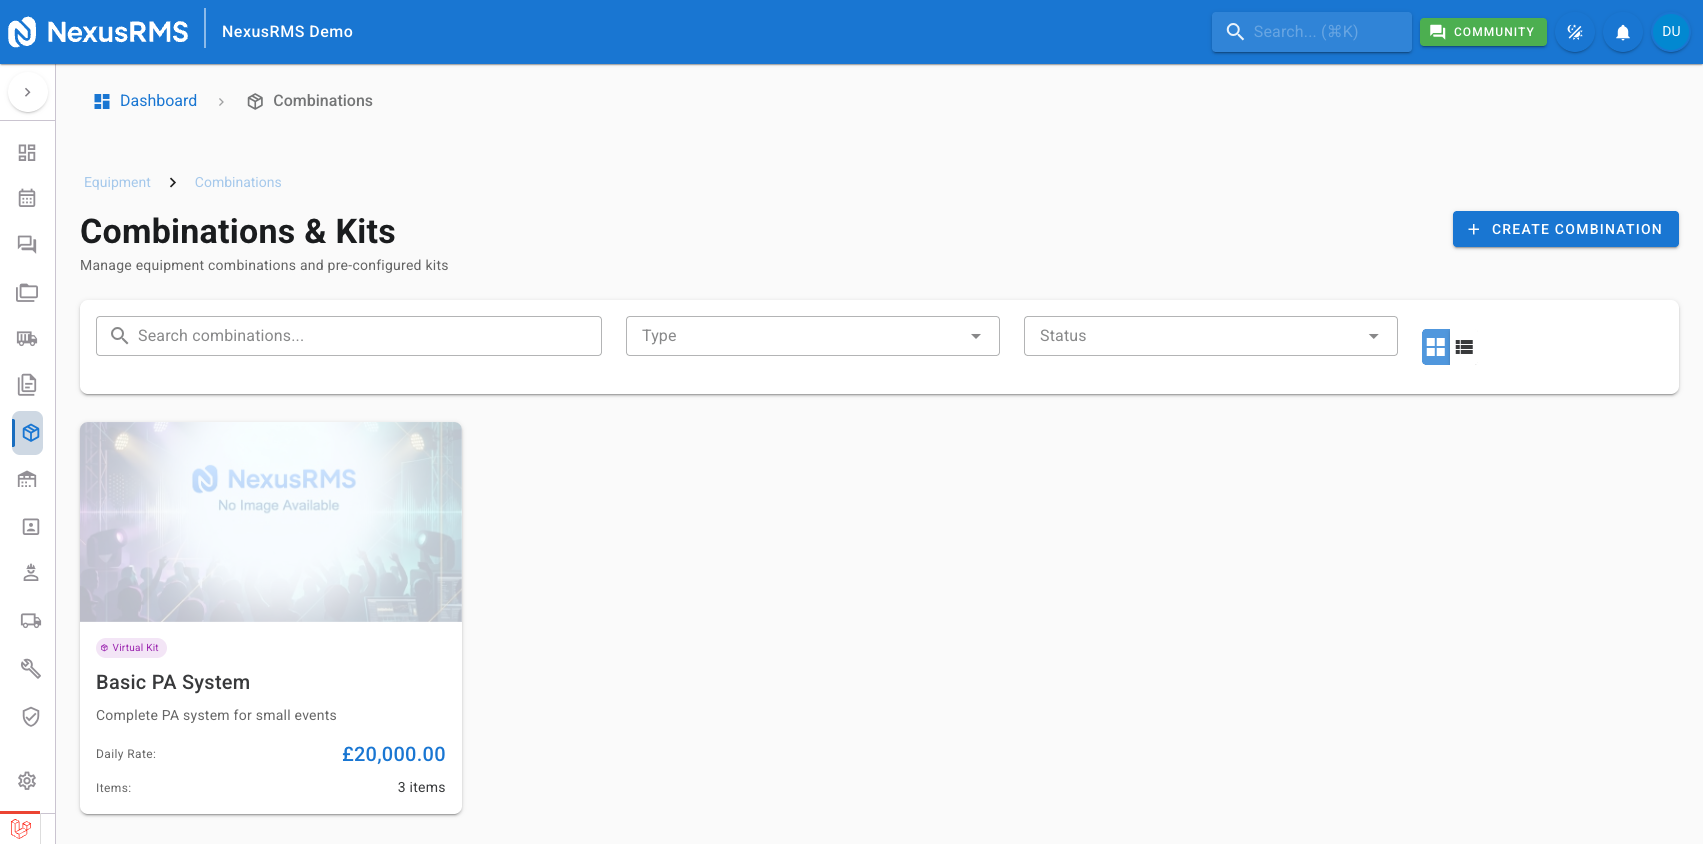
Combinations list page
Click Equipment in the left-hand sidebar, then click Combinations / Kits. The list page shows all your kits with their names, SKUs, kit type, number of components, pricing, and status. You can switch between grid and list views, search by name or SKU, and filter by kit type (Physical or Virtual) or status (Active or Inactive).
Creating a combination with the Kit Builder
Click Create Combination to open the drag-and-drop Kit Builder. The builder is split into two panels:
- Left panel — Equipment Library: Your full inventory organised by category with a search bar. Browse or search to find items you want to include.
- Right panel — Kit Contents: The items currently in the kit. Drag items here from the library, reorder them with drag handles, and configure quantities and options.

Kit details
At the top of the Kit Builder, fill in the kit information:
- Name — A descriptive name for the kit (e.g., "Festival PA System", "LED Wash Lighting Rig").
- SKU — A unique identifier. Click Auto-Generate to create one based on your Equipment Settings prefix and numbering format, or enter a custom SKU.
- Category — Assign the kit to an equipment category for filtering and reporting.
- Description — A detailed description of the kit's contents and intended use. This appears on quotes and project documentation.
- Kit type — Select Physical Case or Virtual Kit. For Physical Case, an additional dropdown lets you specify the case type: Flight Case, Rack Case, Pelican Case, or Custom.
Adding items to the kit
Drag items from the Equipment Library panel into the Kit Contents panel. For each item, configure:
- Quantity — How many units of this item are included in one kit. For example, 2 speakers, 4 cables, 1 mixer.
- Optional — Toggle to mark an item as optional. Optional items are included by default but can be removed by the user when adding the kit to a project. Use this for items that are sometimes needed but not always (e.g., a rain cover for an outdoor speaker).
- Alternative — Mark items as interchangeable within the kit. For example, if the kit includes "Mixer A or Mixer B", mark both as alternatives in the same group. The user selects one when adding the kit.
Sale items in kits
You can include consumable or sale items in a kit alongside rental equipment. Click Add Sale Item in the Kit Contents panel to add items such as gaffer tape, batteries, or single-use accessories. For each sale item, configure:
- Auto-add — When enabled, the sale item is automatically included every time the kit is added to a project.
- Optional — When enabled, the user can remove the sale item during project setup.
- Price override — Set a custom price for the sale item when sold as part of this kit, overriding the item's standard sale price.
Pricing methods
Each kit uses one of three pricing methods, configured in the Pricing section of the Kit Builder:
- Sum of Parts — The kit price is automatically calculated by adding up the individual rental rates of all component items multiplied by their quantities. The price updates dynamically if component rates change. Best for transparency when clients want to see a detailed breakdown.
- Fixed Price — You enter a manual daily, weekly, and monthly rate for the kit, independent of component pricing. The kit appears as a single line item with a single price. Best when you want to simplify pricing or when the kit has a market rate that differs from the sum of its parts.
- Discounted — The kit price is calculated as the sum of parts minus a percentage discount. Enter the discount percentage and the system calculates the final rate. Best for offering kit deals where bundling saves the client money while keeping pricing linked to component values.
Combination detail page
Click any kit on the Combinations list page to open its detail page. The detail page shows:
- Pricing summary cards — Daily, weekly, and monthly rates with a visual indicator of the pricing method in use.
- Component list — All items in the kit with their individual quantities, rates, and optional/alternative flags.
- Pricing breakdown — A detailed calculation showing how the kit price is derived from its components and any discounts applied.
- Availability — Real-time availability of the kit based on the availability of all required components.
- Booking history — Projects that have used this kit.
Editing and managing combinations
To edit a kit, open its detail page and click Edit to reopen the Kit Builder with all existing configuration loaded. You can add or remove items, change quantities, adjust pricing, and update kit details. Changes take effect for future projects only — existing project allocations are not modified.
To deactivate a kit without deleting it, toggle its status to Inactive. Inactive kits are hidden from the project equipment selector but retain their data and history. To permanently delete a kit, it must have no active project allocations.
Tips and best practices
- Use physical kits for items that always travel together — Pre-wired racks, flight cases with configured equipment, and permanently assembled rigs are perfect candidates. This reduces setup time on site and ensures nothing is missing.
- Use virtual kits for common rental packages — Packages like "Basic PA for 200 people" or "Interview Lighting Kit" streamline project setup without requiring physical bundling.
- Set competitive pricing with the discount method — Offering a 10–15% discount for renting a complete kit encourages clients to book packages rather than individual items, increasing order value and simplifying logistics.
- Include optional items for flexibility — Add rain covers, spare cables, and backup units as optional items. Clients appreciate the option without being forced to pay for extras they do not need.
- Review kit availability before peak season — A kit is only available when all its required components are available. Check component stock levels ahead of busy periods to avoid kit shortages.
Next steps
This concludes the Equipment module articles. For related topics, explore the Warehouse module articles to learn about check-in/check-out workflows, or visit the Projects module to see how equipment is allocated to bookings.
Was this article helpful?